
My Workshop Build
Having initially been limited to carrying out my cutting and assembly on the ground in my back garden, I decided it was time to create a proper workshop!
I took on the entire project myself, from designing the workshop and sourcing the materials to carrying out the full build. It was a big undertaking, but it gave me the dedicated space I need to develop my funiture work.
Below are the various stages of the build, from the foundations through to the finished workshop.
Jump To:
Designing the Workshop
Most of my cabinetry is crafted from 18mm plywood, which comes in large sheets measuring 2440 × 1220mm and weighing around 30kg. One of the main considerations when designing the workshop, therefore, was ensuring there was enough internal space to carry these large sheets inside, lift them onto a workbench, and safely make cuts.
I settled on an internal footprint of approximately 3.0 × 1.8m. It would be snug, but large enough to give me the working space I needed! I also opted for a uPVC door, which would need to be wide enough to comfortably bring full sheets of plywood into the workshop, along with a uPVC window to provide ventilation and additional natural light.
For the foundations, I decided to use concrete blocks. The floor, walls and roof would be constructed from treated timber and fully insulated, making the workshop comfortable to use throughout the year.
The roof would be sheathed in OSB and finished with EPDM rubber, while the walls would be sheathed in OSB and wrapped with a breathable membrane. For the exterior cladding, I chose a combination of corrugated roofing sheets and timber cladding, as I liked the contrast between the two finishes.
Internally, the walls and ceiling would be fitted with a vapour barrier before being plasterboarded. I also planned for ceiling spotlights and plenty of power points to accommodate my various power tools and equipment.
With the design decided and sketched out, it was time to start building!
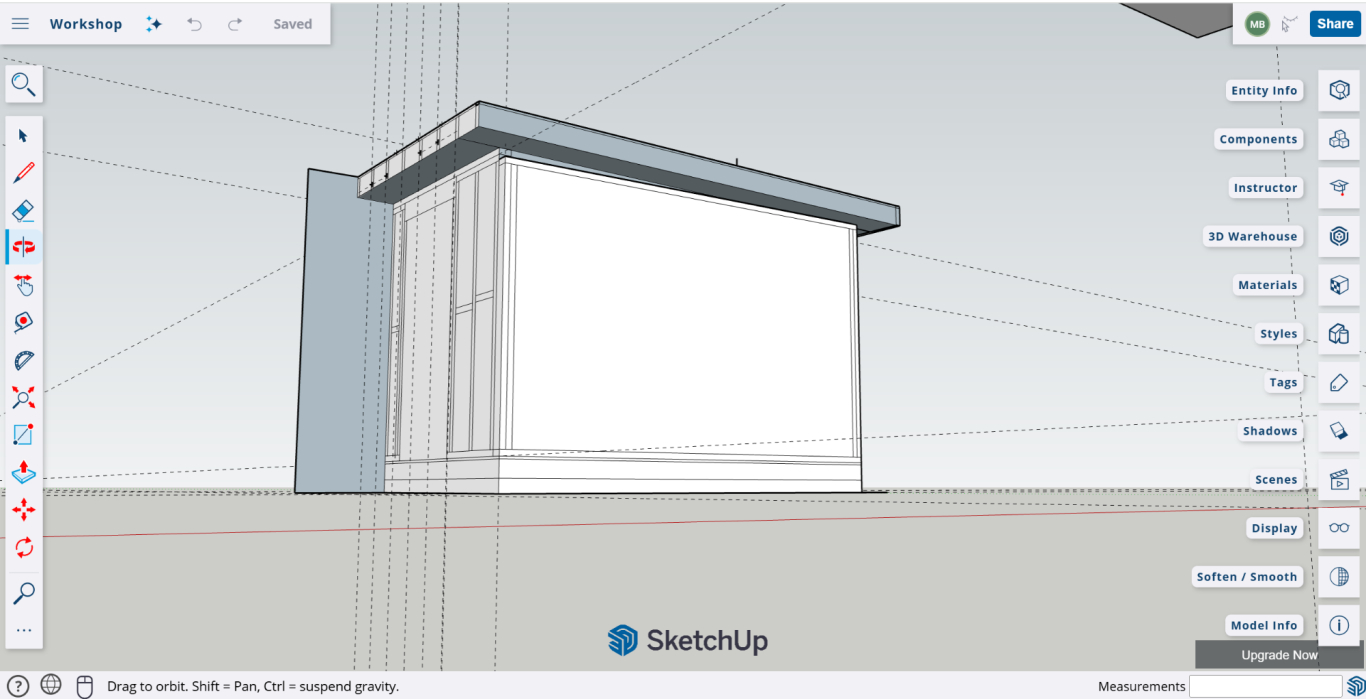
I sketched out the workshop, which enabled me to ensure the measurements would "work" for me, and made it easy to identify the required material quantities
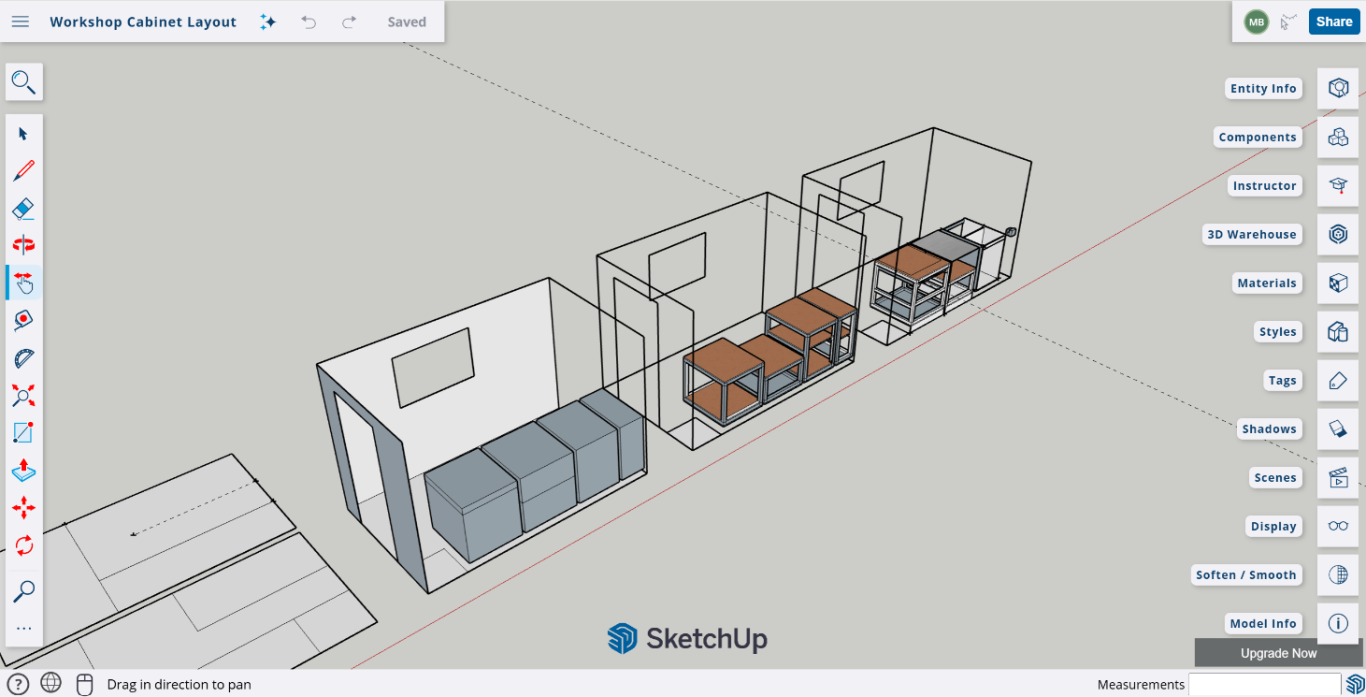
Sketches to work out internal layout options
Clearing the Plot & Installing the Foundations
This was easily the least enjoyable part of the build! Digging all the holes by hand in preparation for installing the concrete blocks that would form the foundations for the workshop deck was hard work.
Having started the excavation in late October, there was also a little pressure to get the foundations in and the deck built before the weather really took a turn!
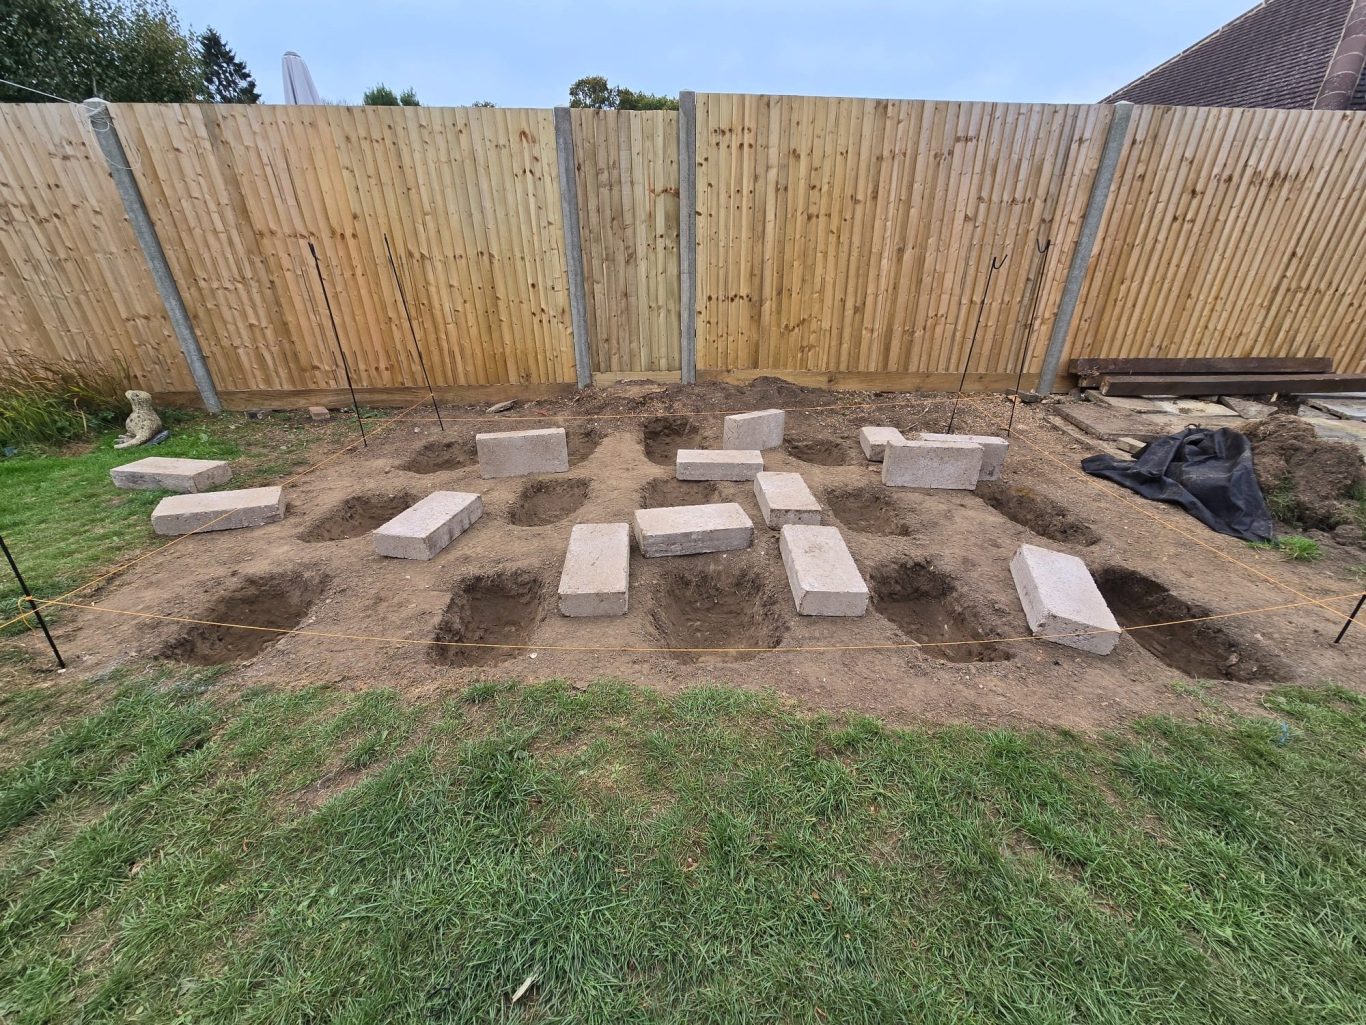
Holes dug for concrete blocks
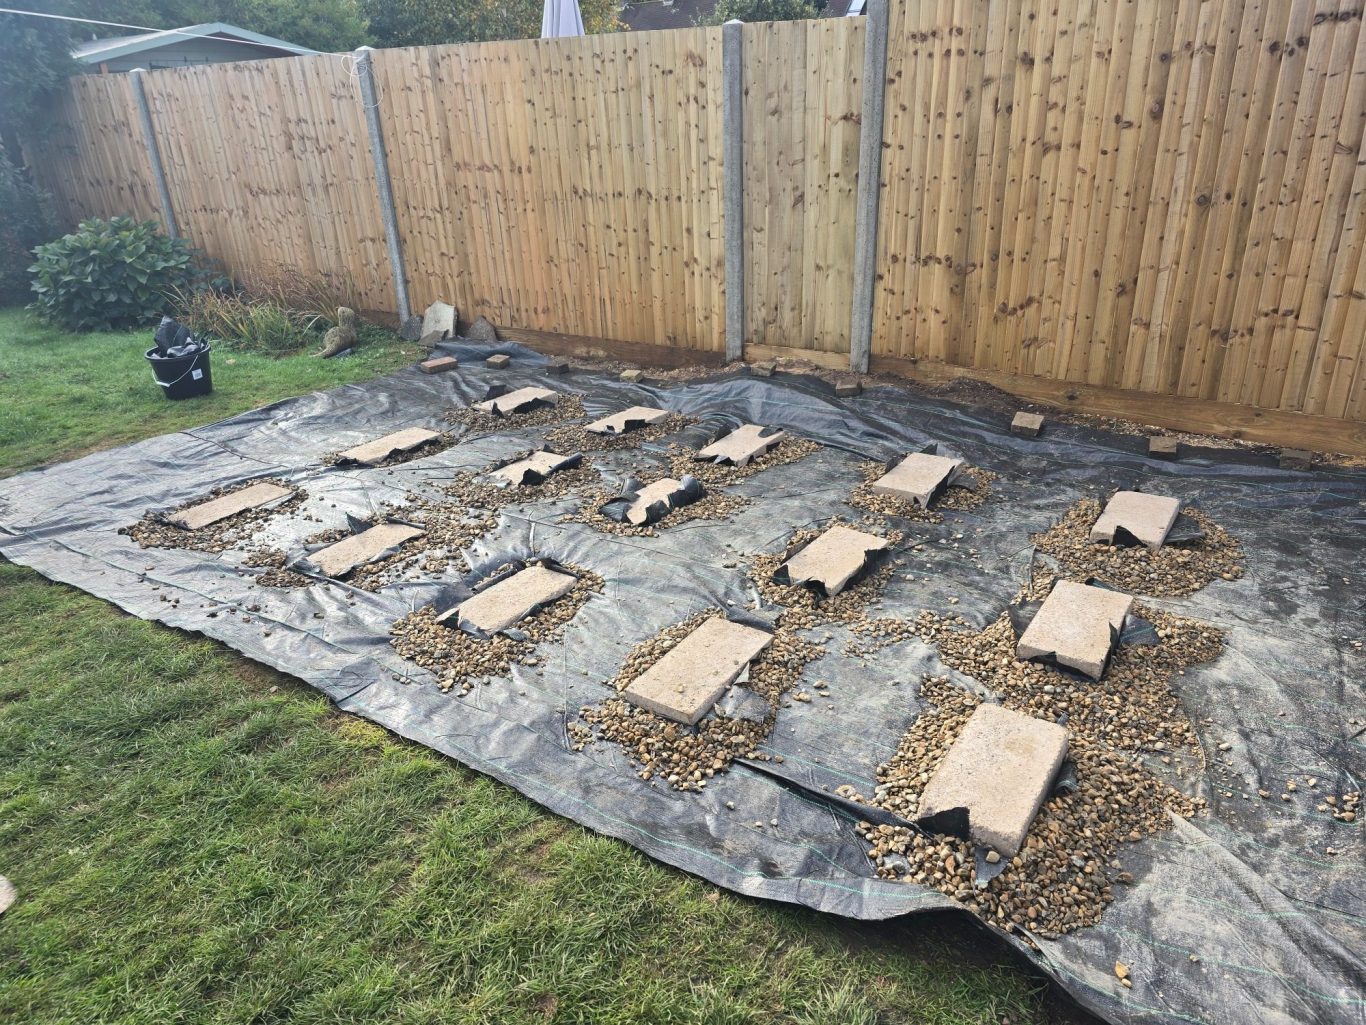
Weed membrane installed around concrete blocks that are semi-submerged and mortared onto compacted MOT Type 1 Sub Base
Building & Insulating the Floor Deck
Having laid the foundations I then constructed the deck. I insulated it so that the workshop would be more comfortable to use during the cooler months!
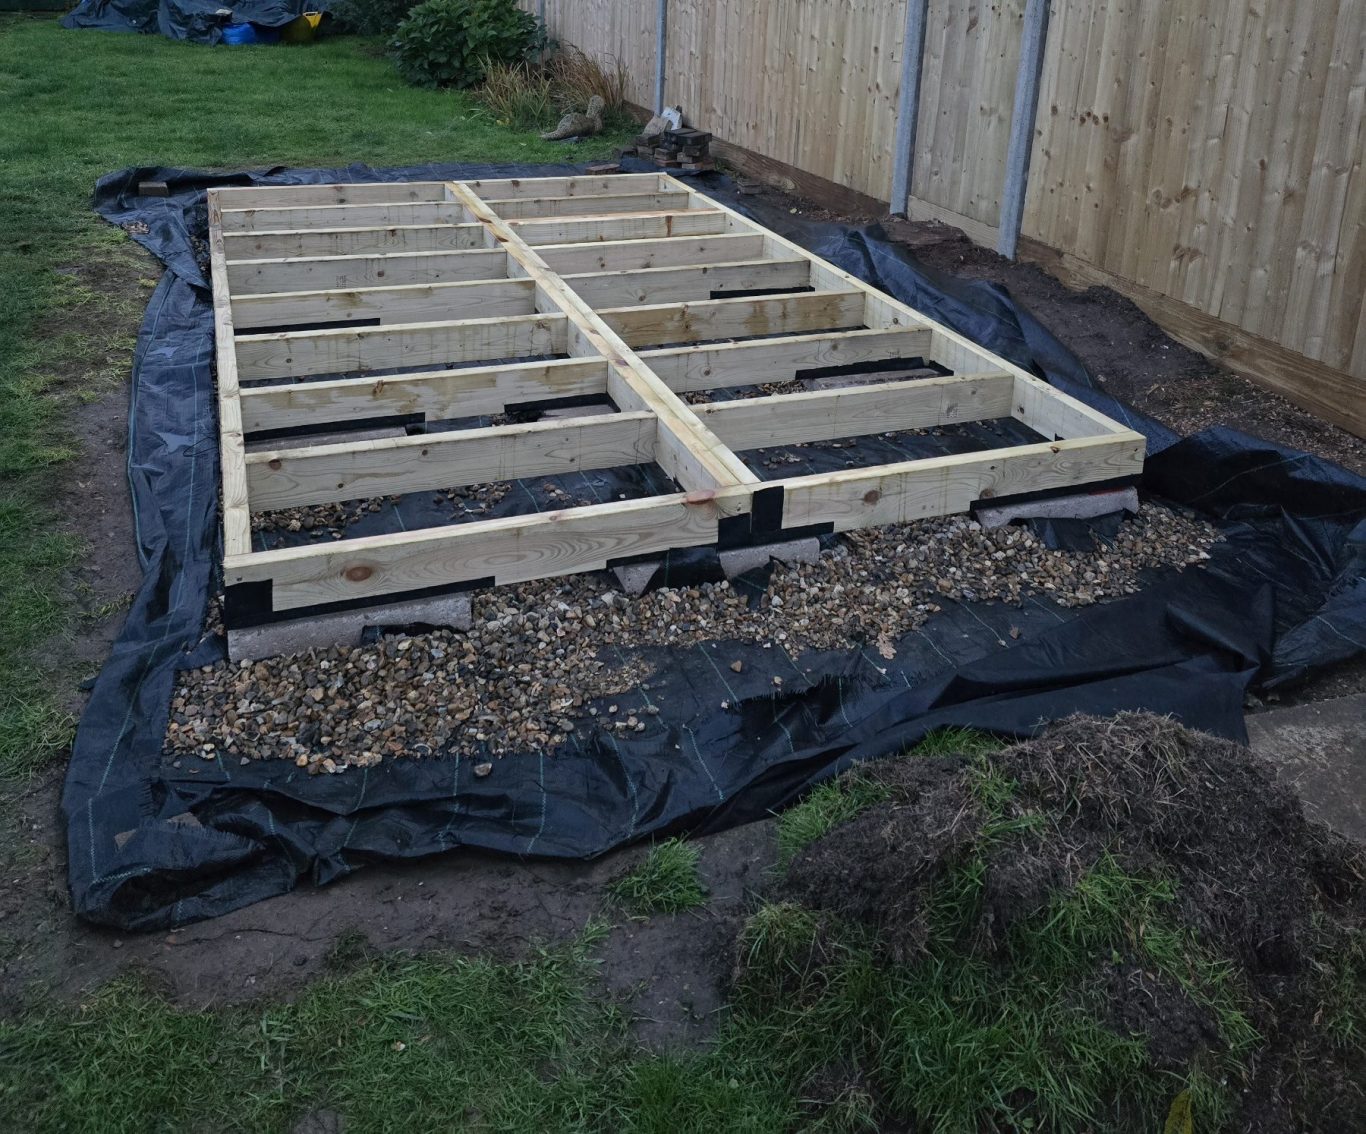
Floor deck constructed from treated timber and secured to concrete blocks with damp course between
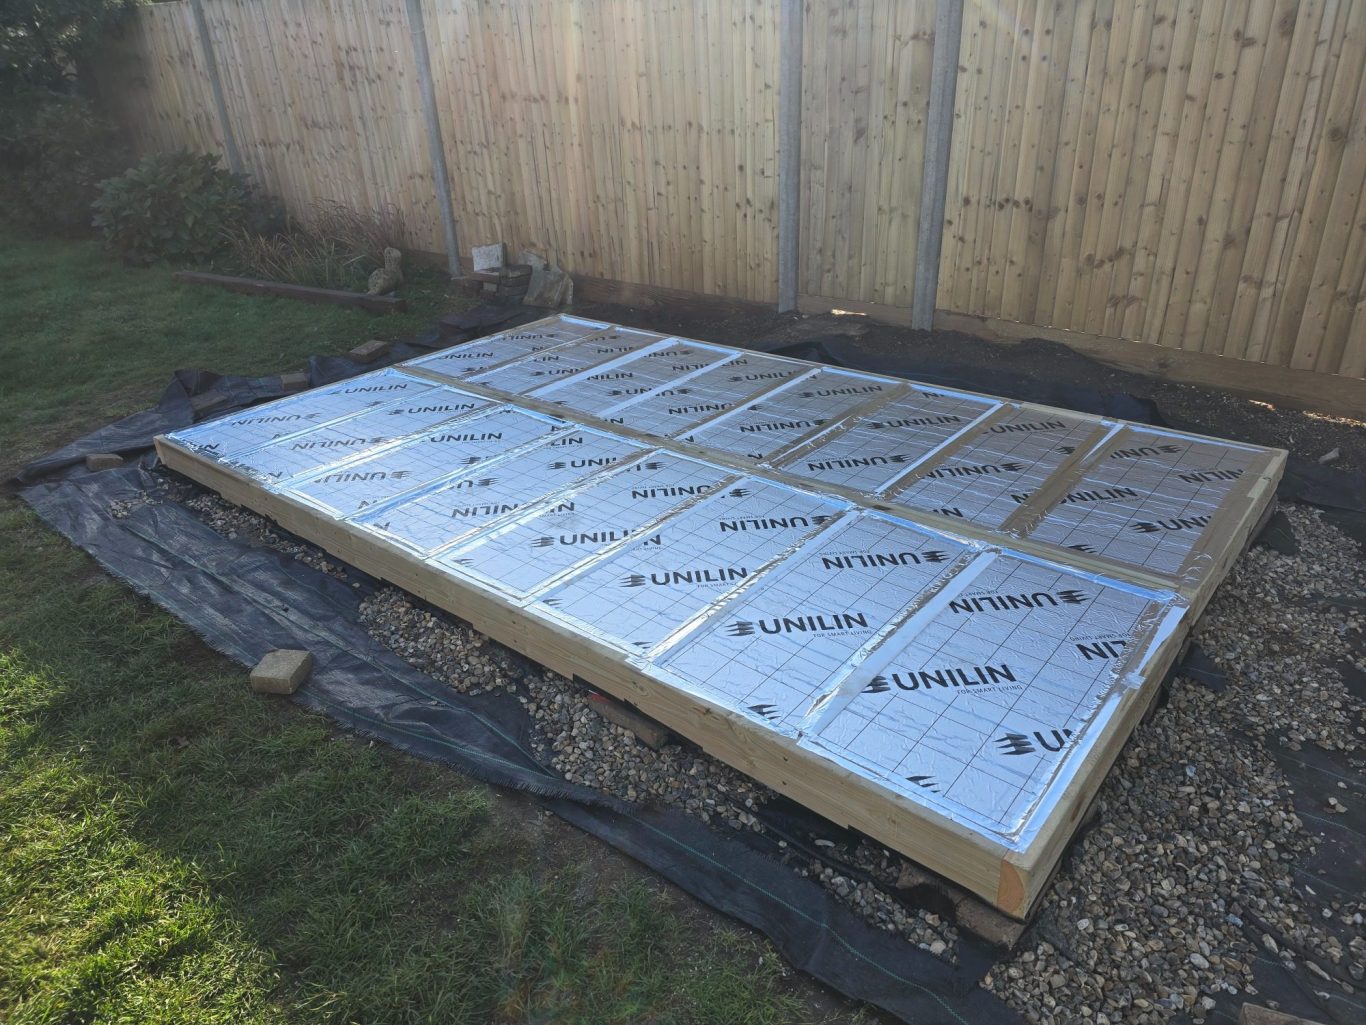
Floor deck insulated with PIR Boards on top of breather membrane
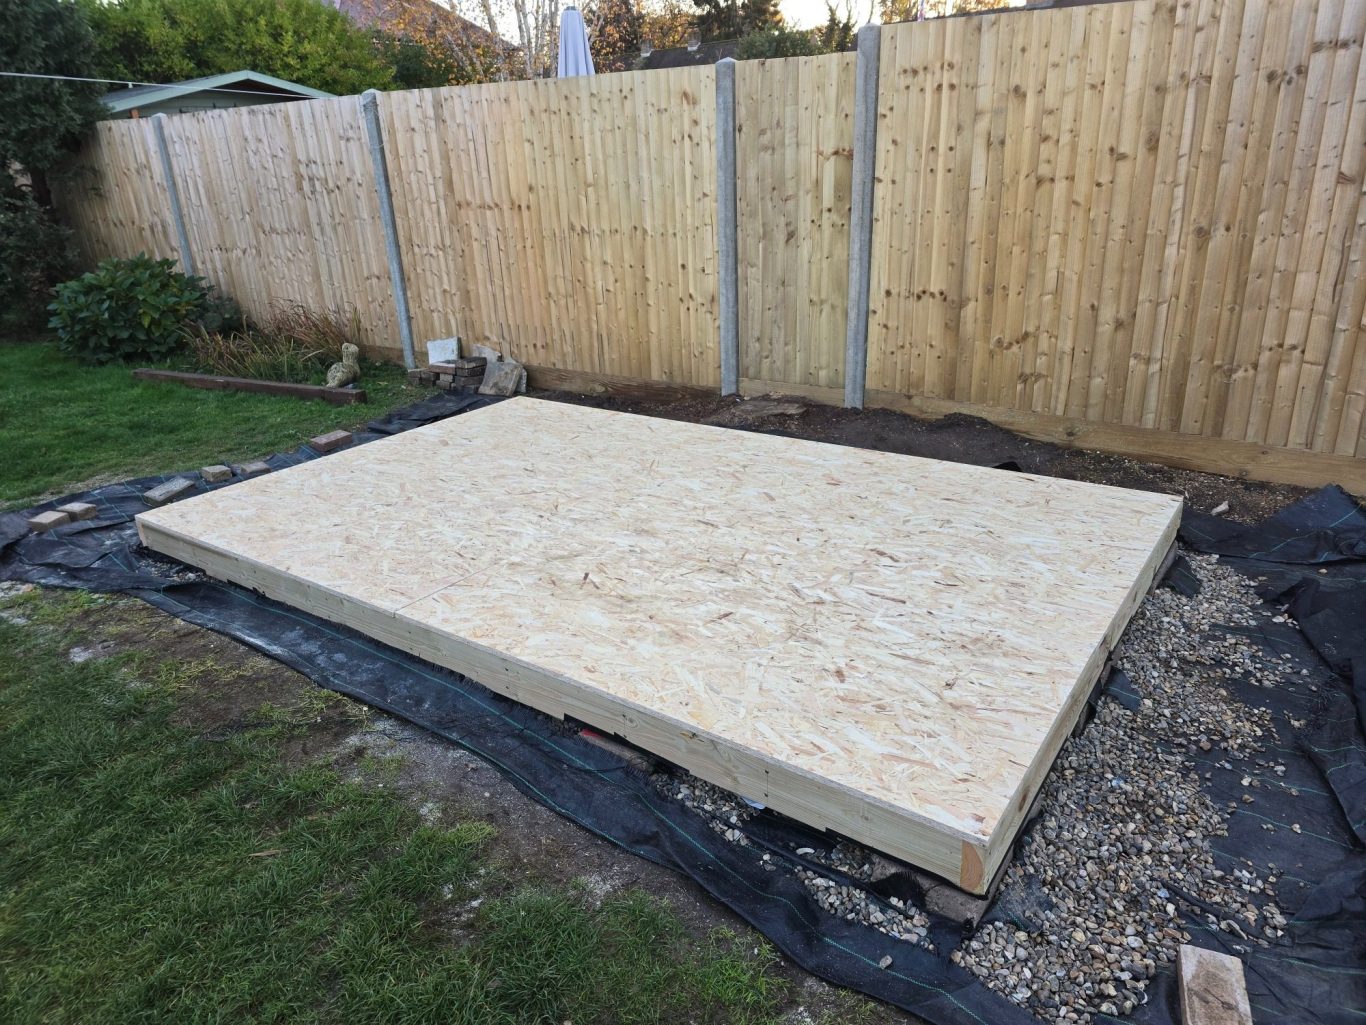
Floor deck sheathed with 18mm osb
Building the Walls
This was an exciting stage of the build, as it was the point where the workshop really started to take shape!
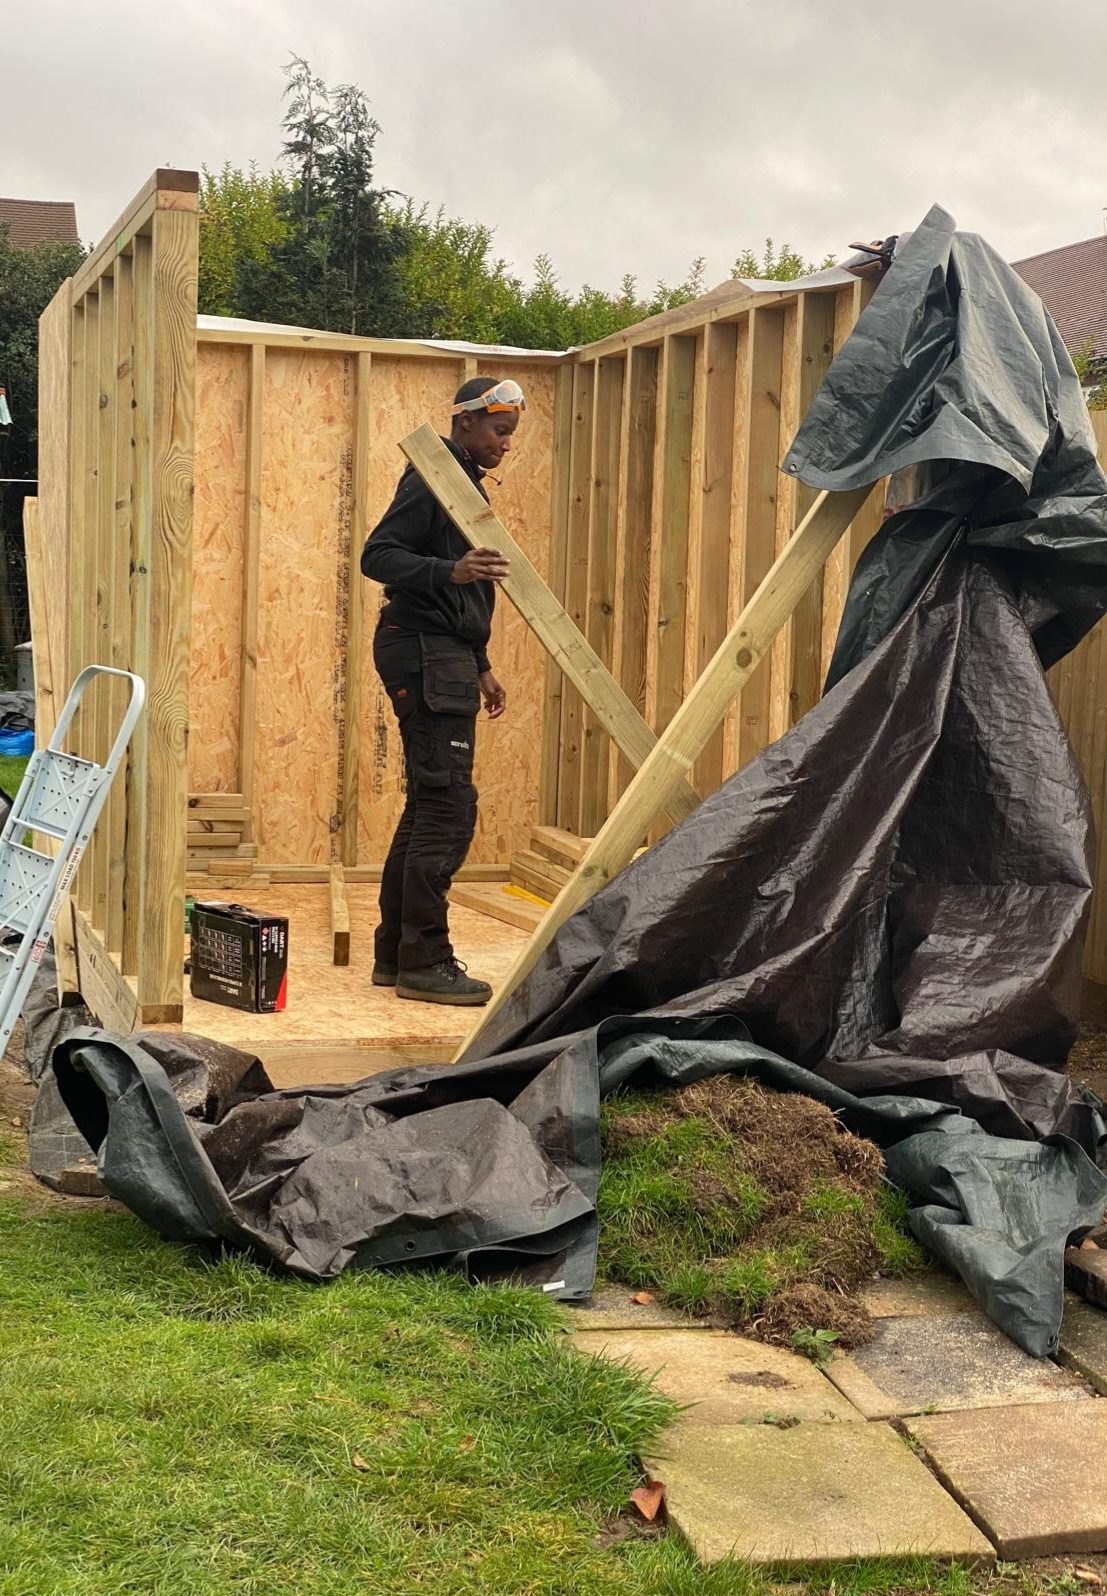
Three of the four walls constructed from treated timber with 11mm osb sheathing and breather membrane. Timber used to brace incomplete walls. Tarpaulin shown used to cover the "roof" of the building until the "actual" roof is installed!
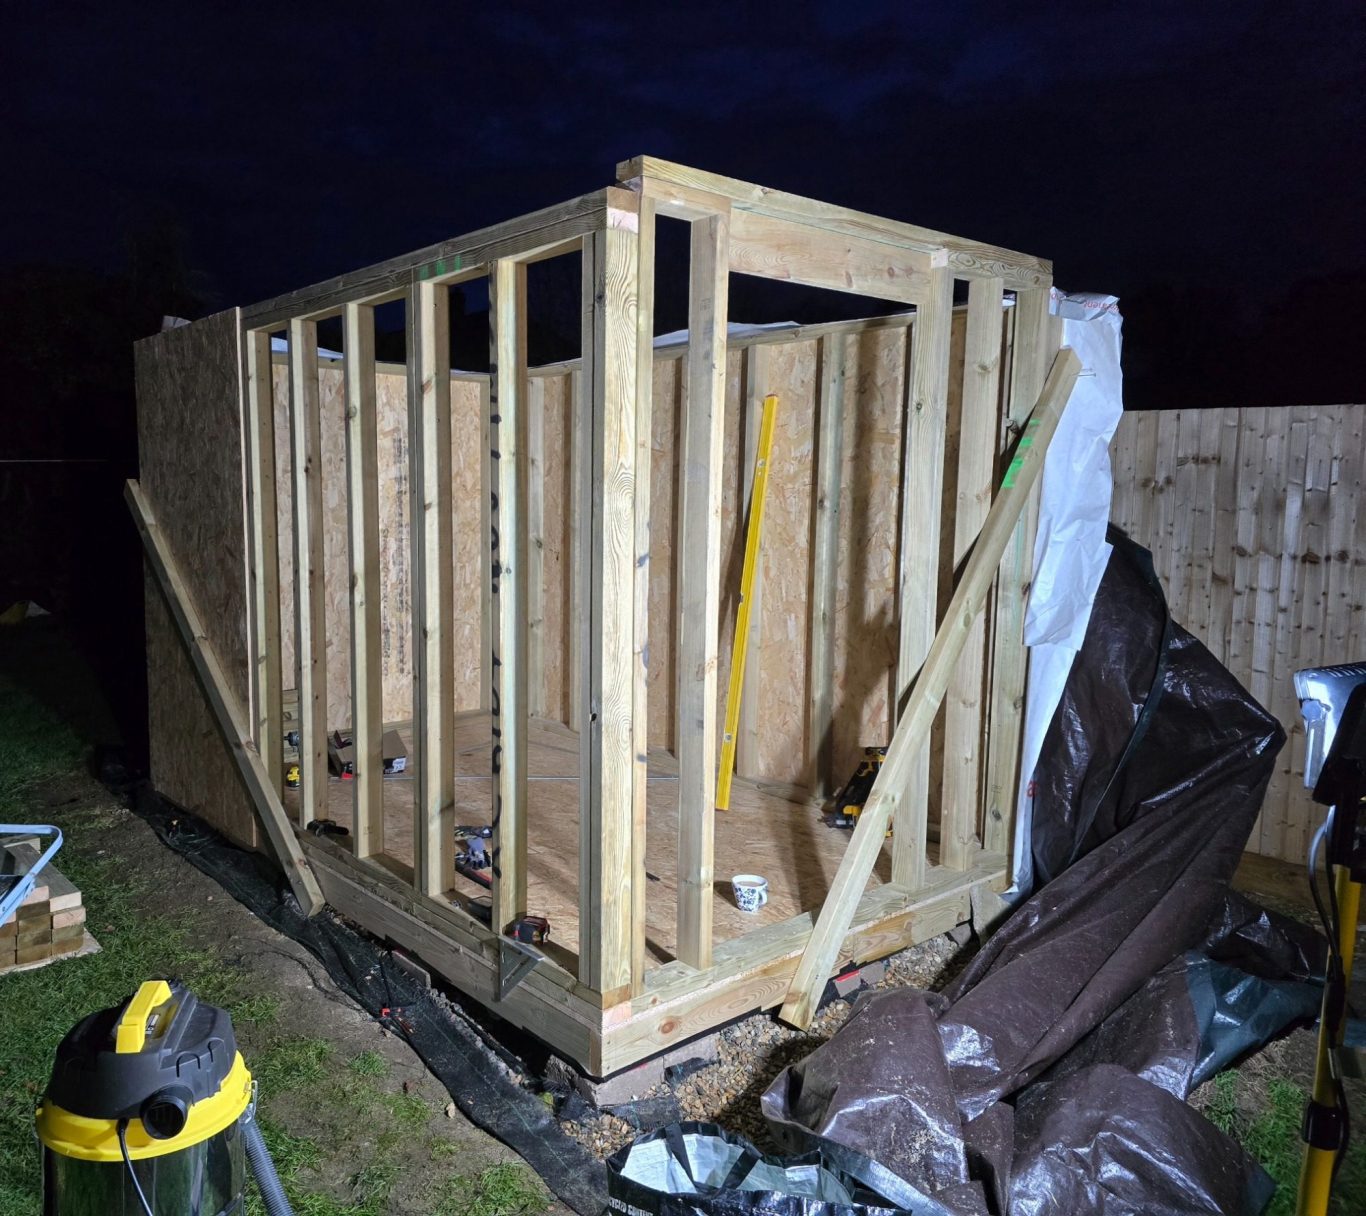
Final wall constructed with opening for door. (Note the cup of tea which made the cold night a little less punishing!)
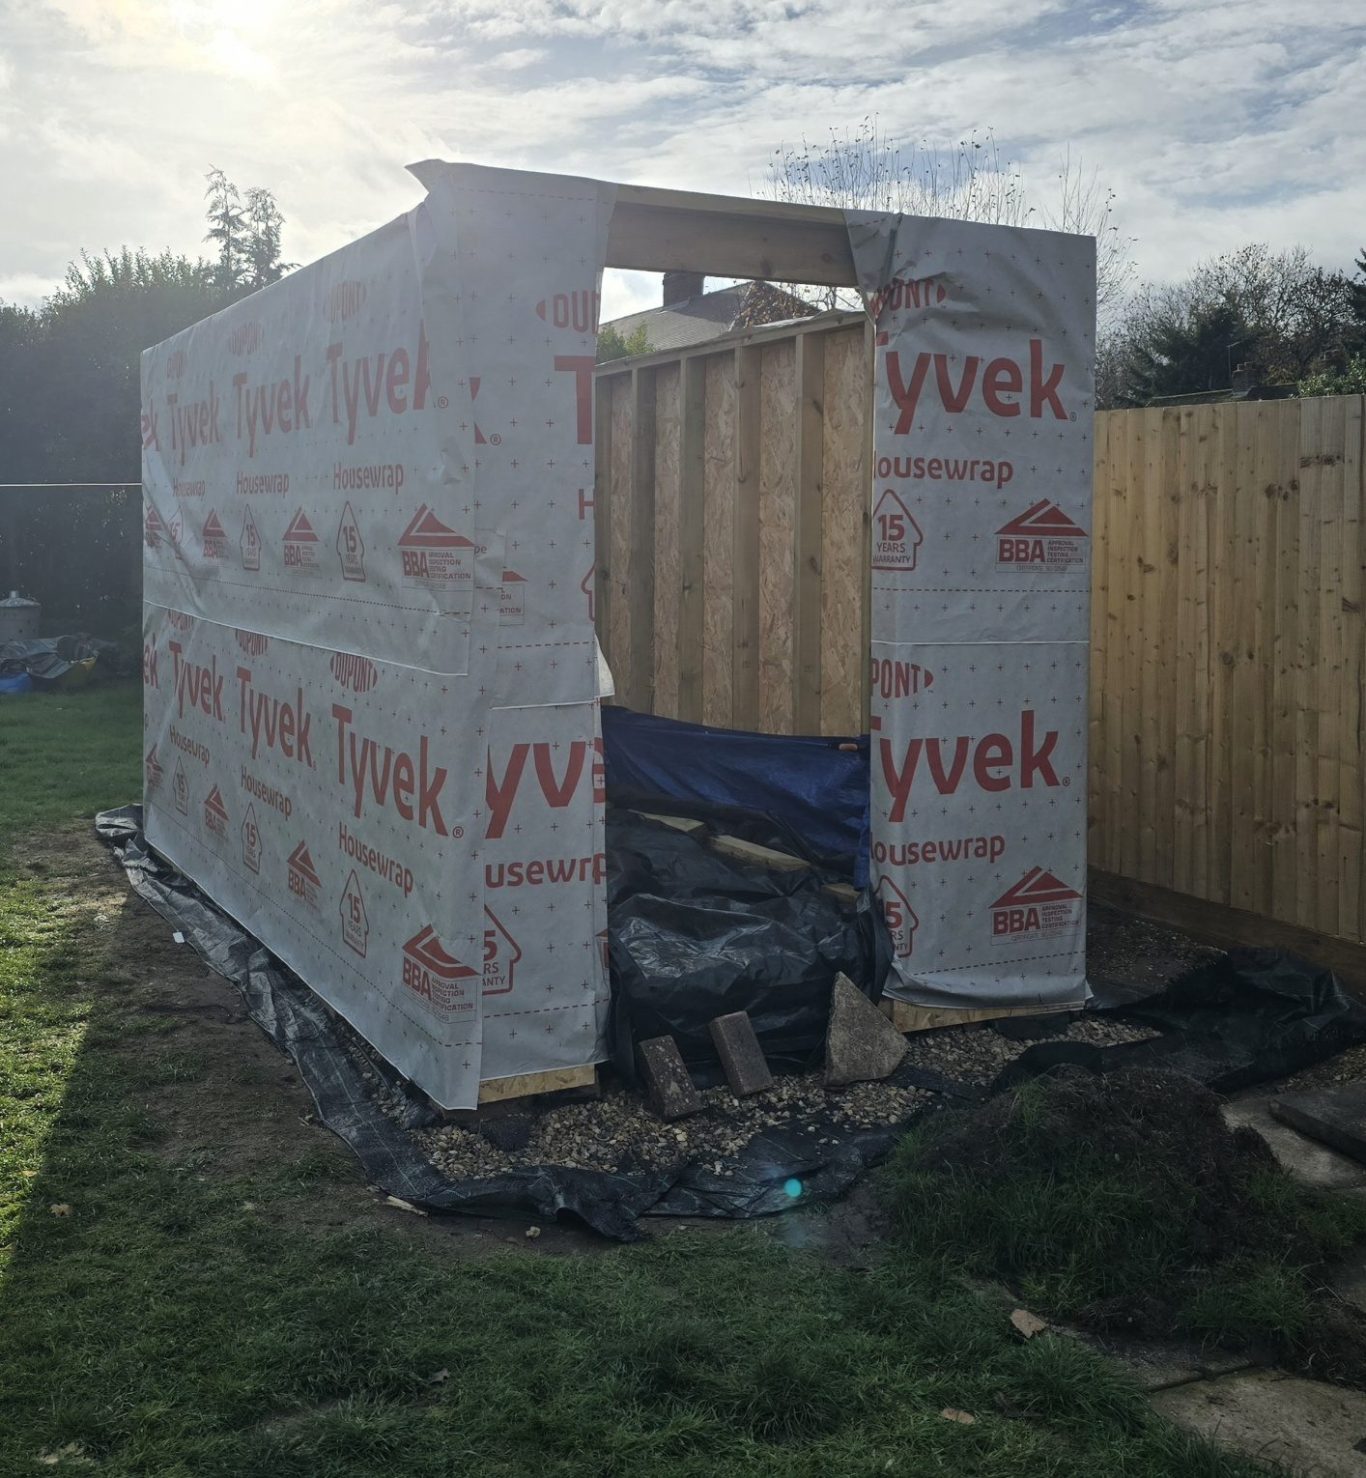
Temporary bracing now removed, and all walls wrapped with breather membrane
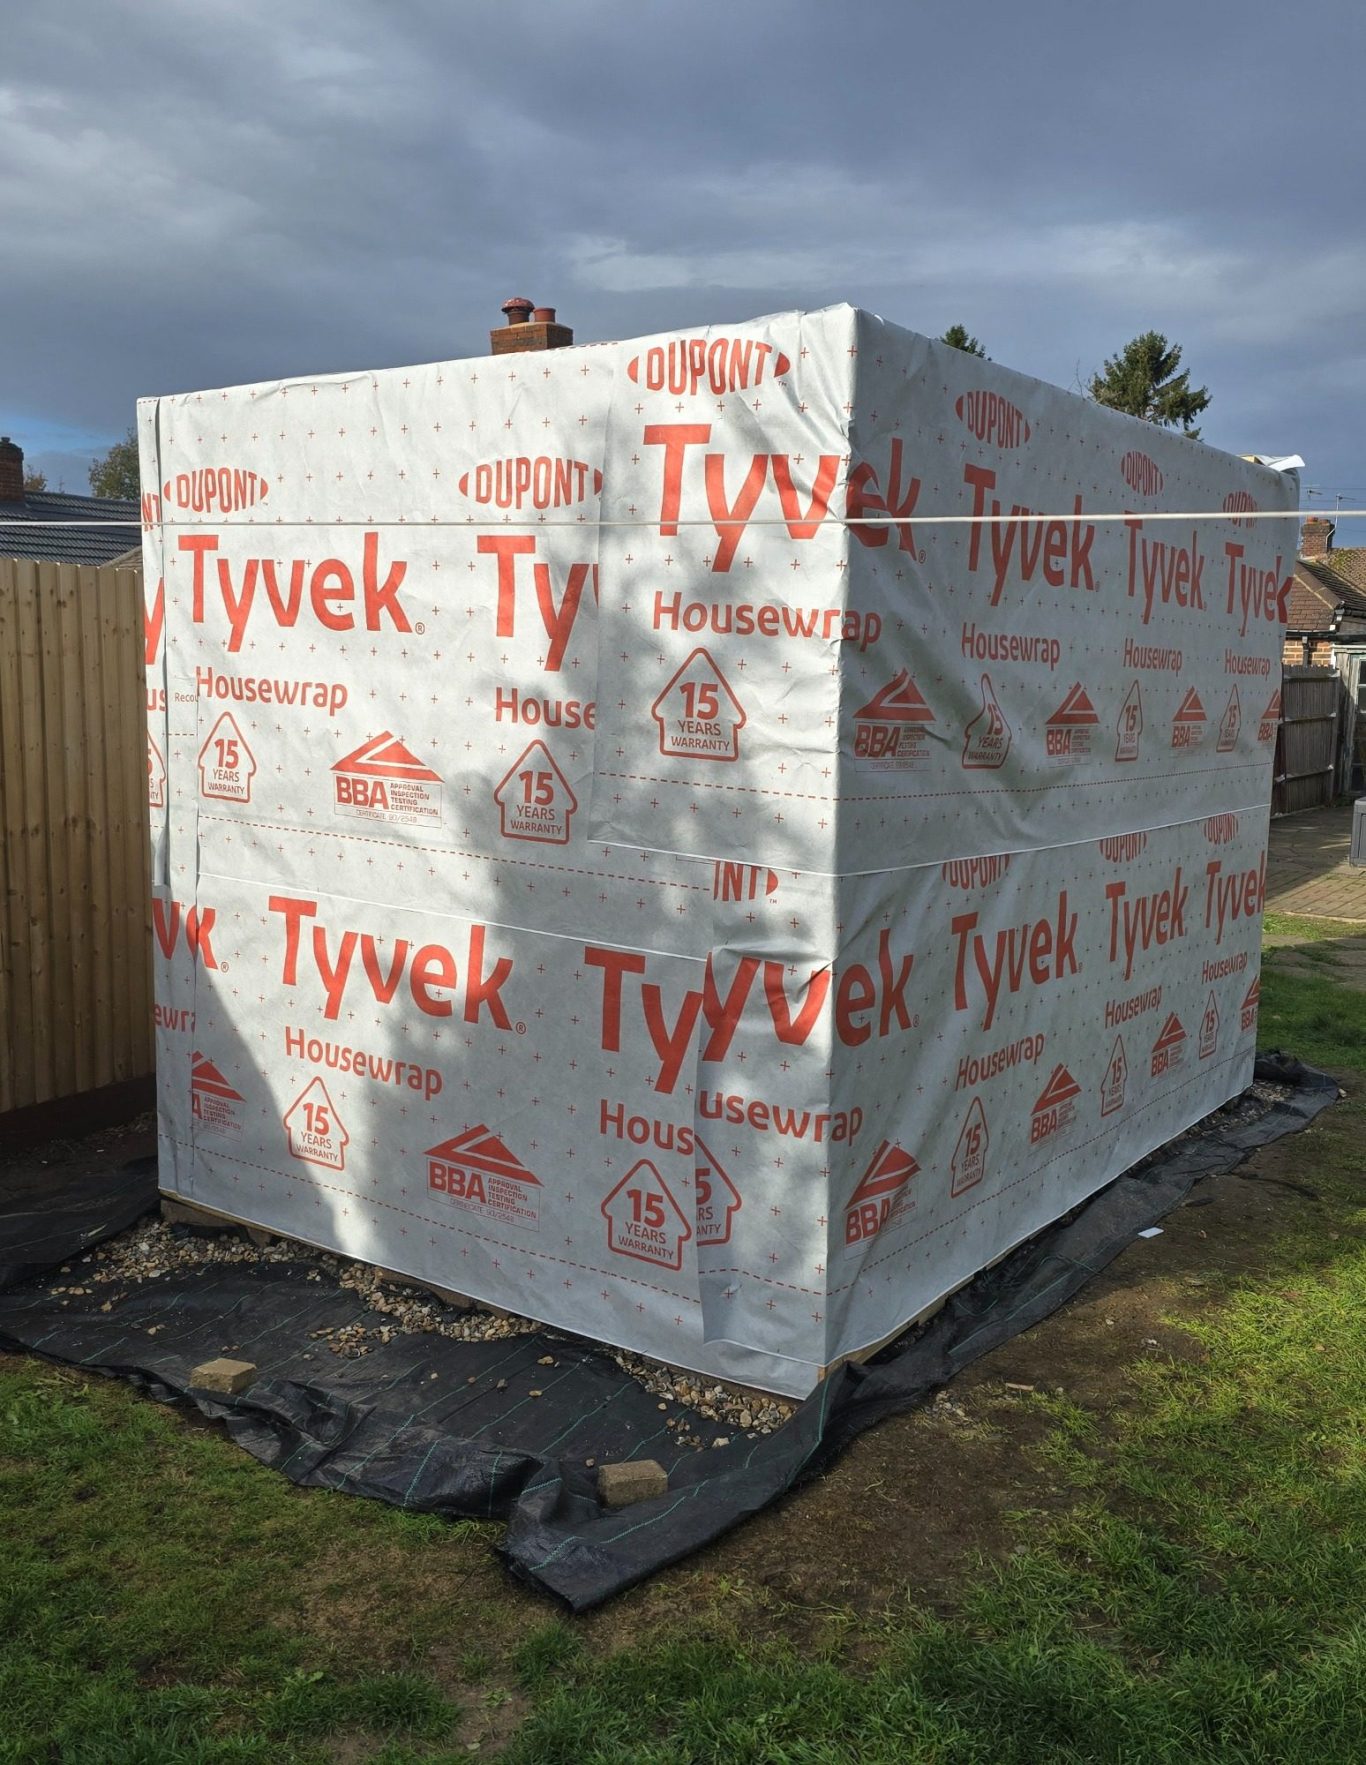
Rear view...
Installing the EPDM Rubber Roof
Up to this point, I had been relying on a tarpaulin to keep the workshop watertight, which was becoming a bit of a nightmare!
The next stage was to install the roof deck and EPDM rubber roofing. Clambering up onto the roof for the first time was a little nerve-racking, but once I was up there, it was incredibly satisfying to see the construction taking shape and know that everything was solid and secure.
Best of all, the roof was finally watertight — which meant I could officially say goodbye to the tarpaulin!
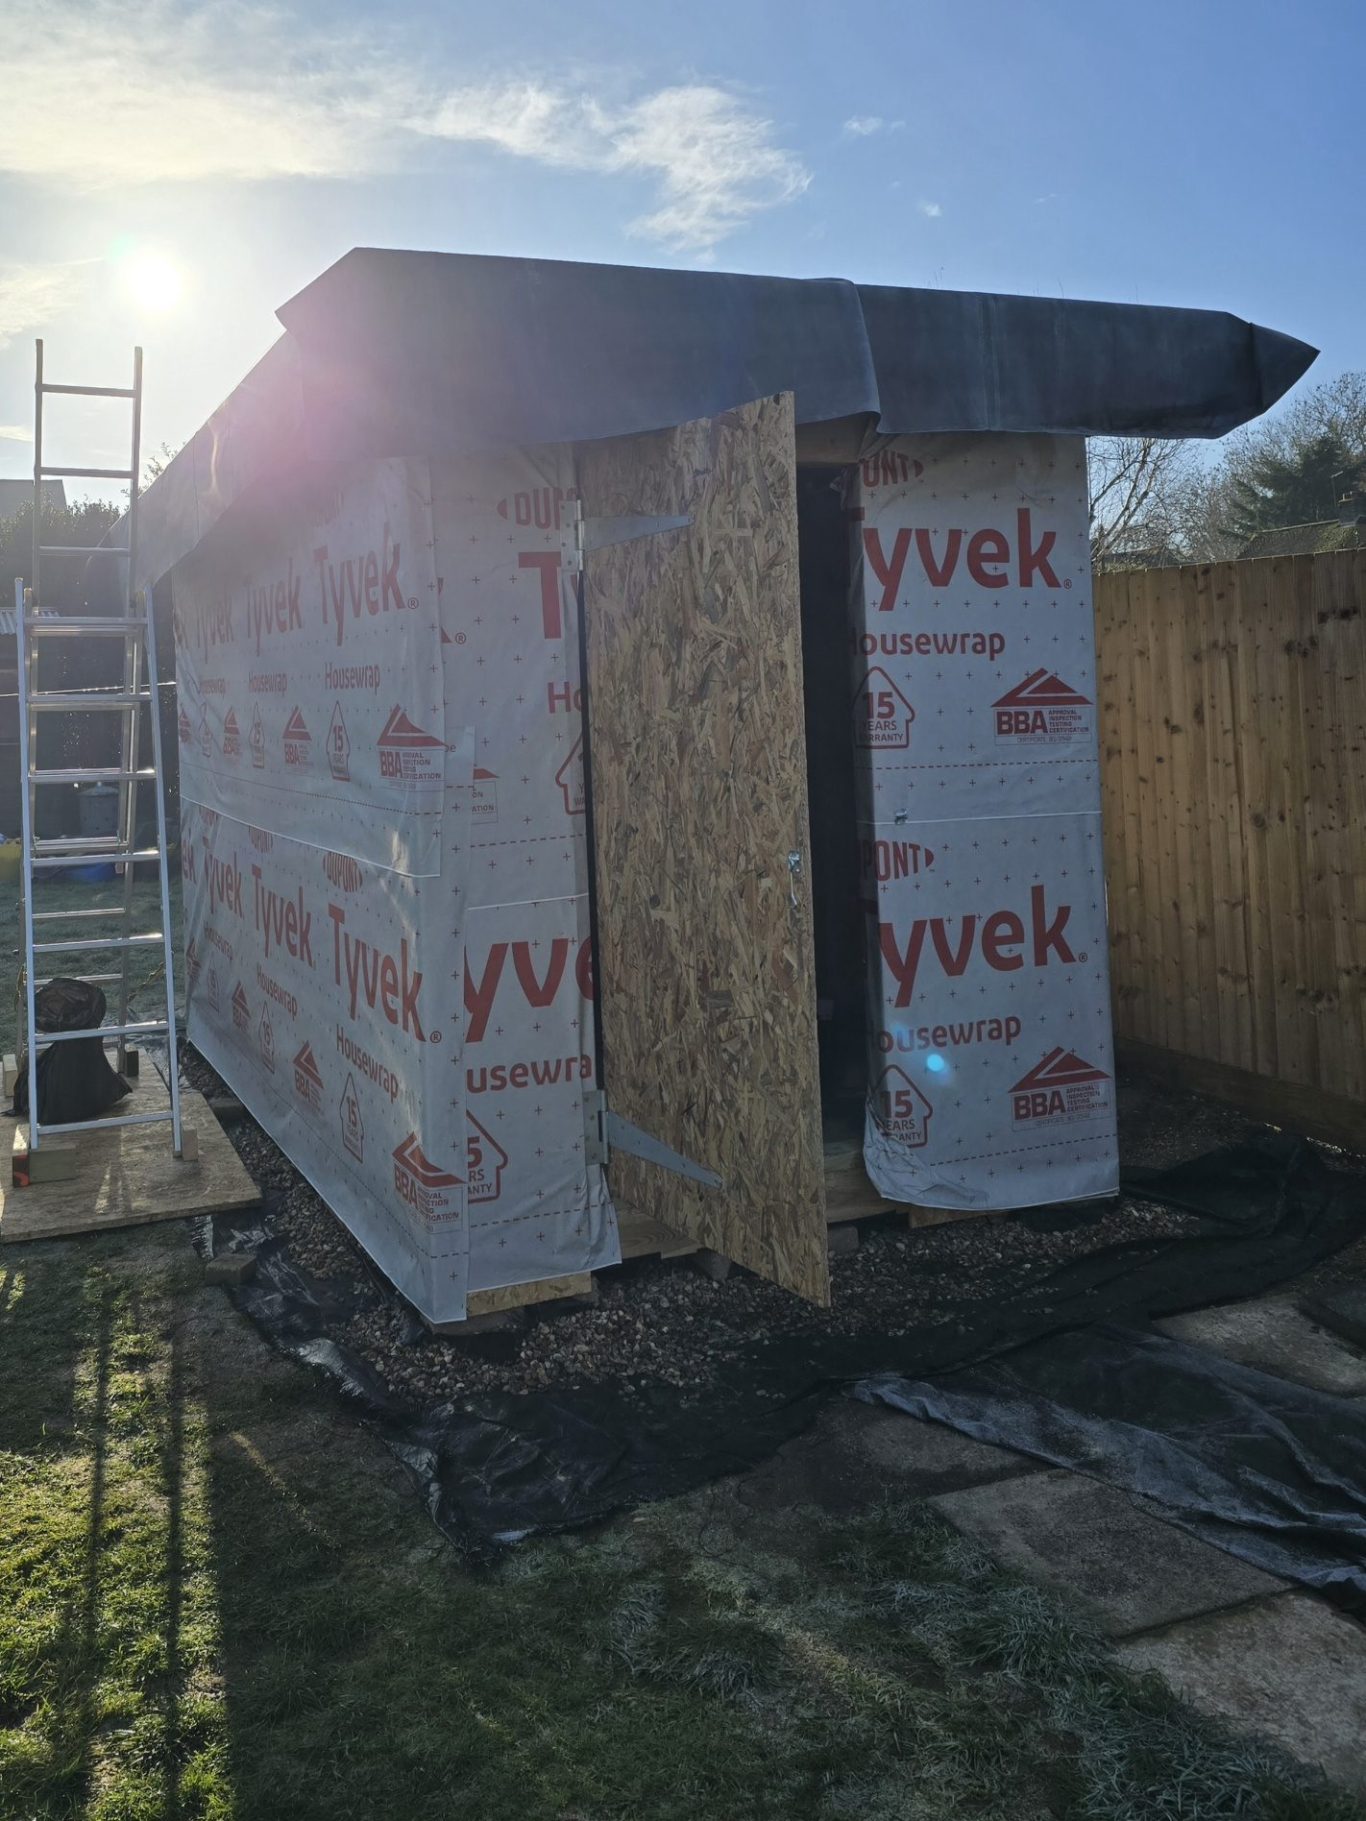
EPDM draped over the roof deck to allow the factory creases to ease out a little. (Temporary door made from 18mm osb and installed.)
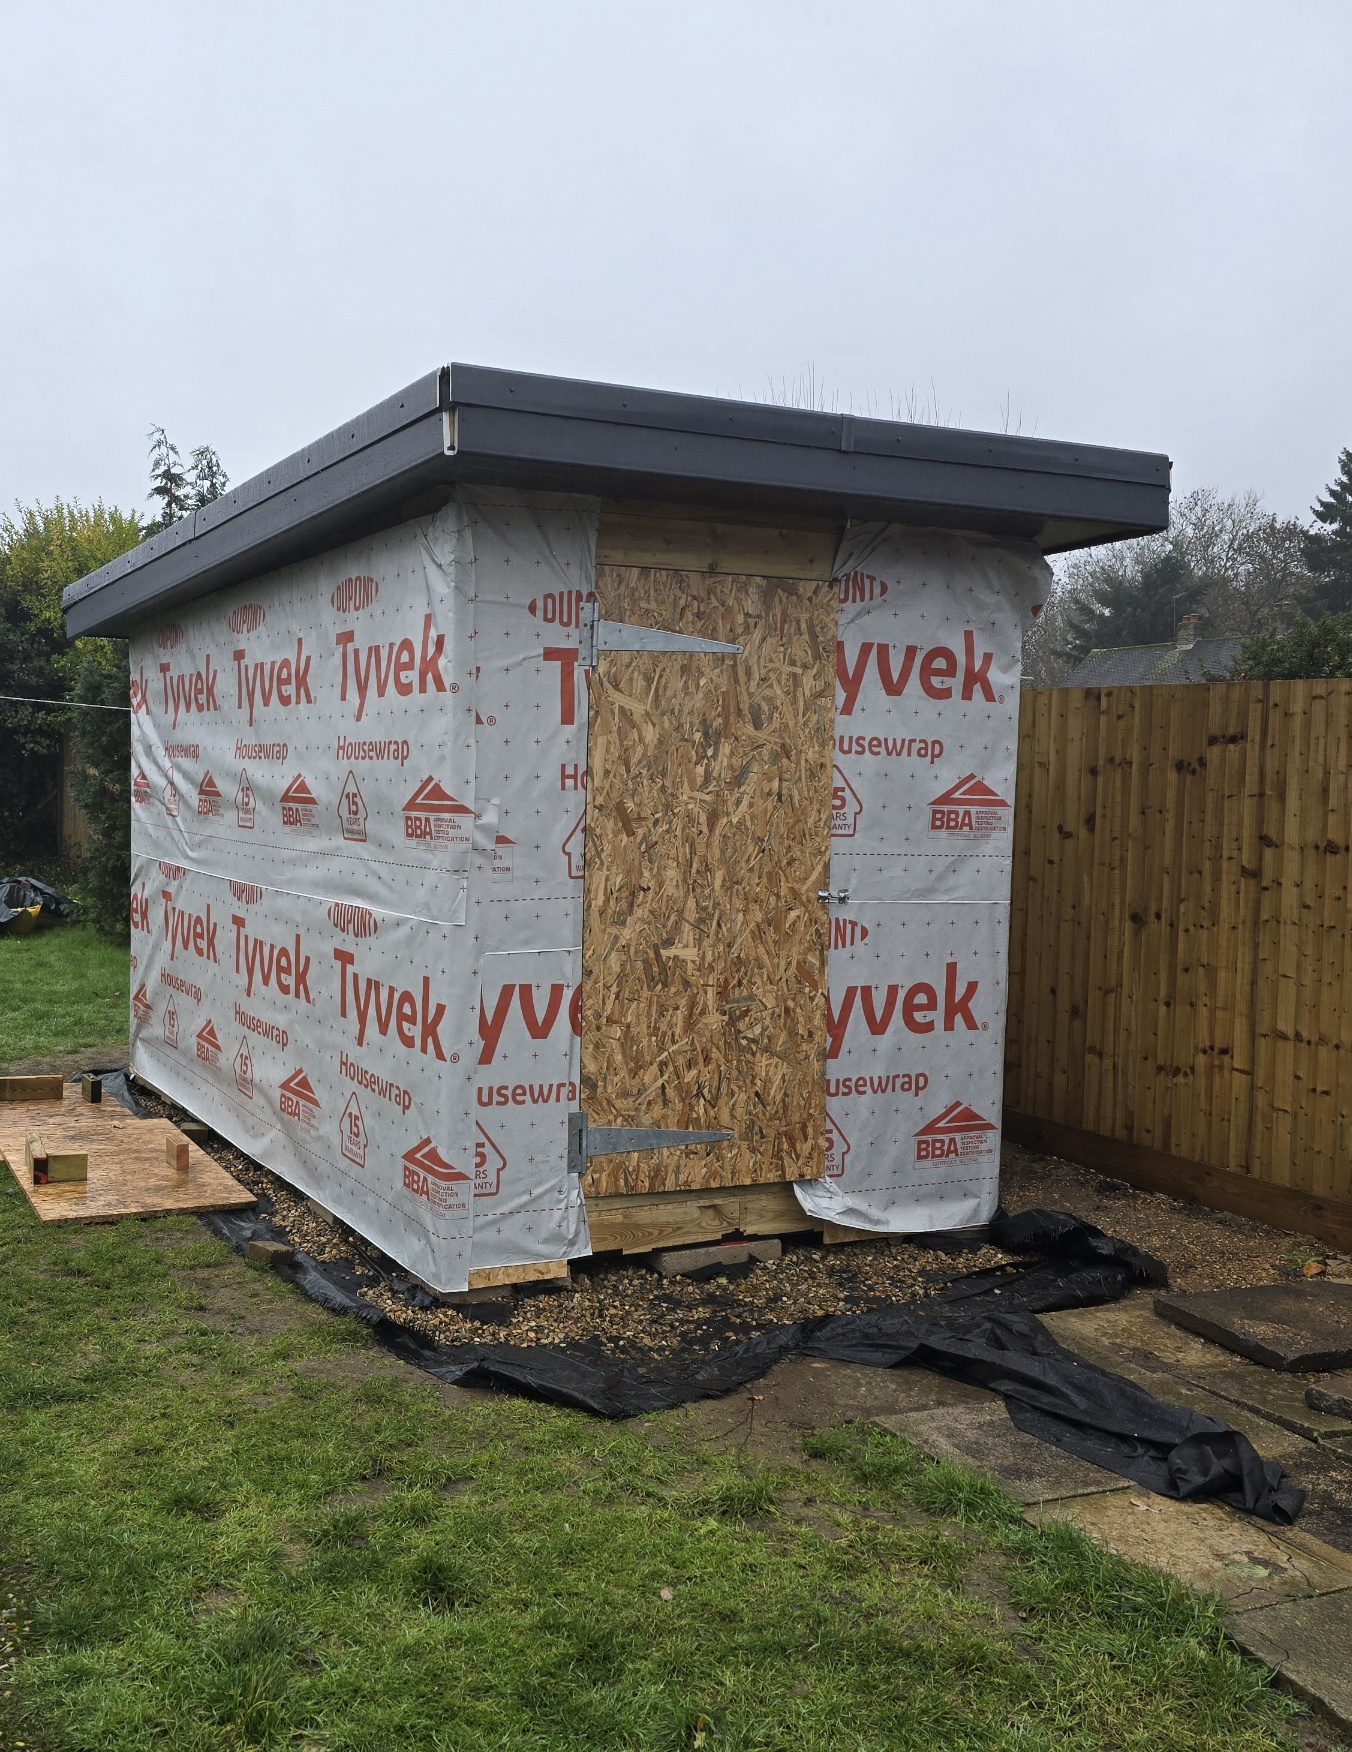
EPDM rubber roof installed, along with side and kerb trims. Corner trims to follow.
WORKSHOP NOW MOSTLY WEATHERTIGHT!
Window Opening Created, Wall & Ceiling Insulation, First Fix Electrics
Initially I constructed the wall that the window would be installed in without a window opening, so I had to retrospectively create an opening.
I then installed some rockwool insulation to the walls and ceiling, taking care to leave a little void above the ceiling insulation for ventilation to prevent condensation from building up in the roof space.
A qualified electrician carried out the first-fix electrics, ready for the walls and ceiling to be finished.
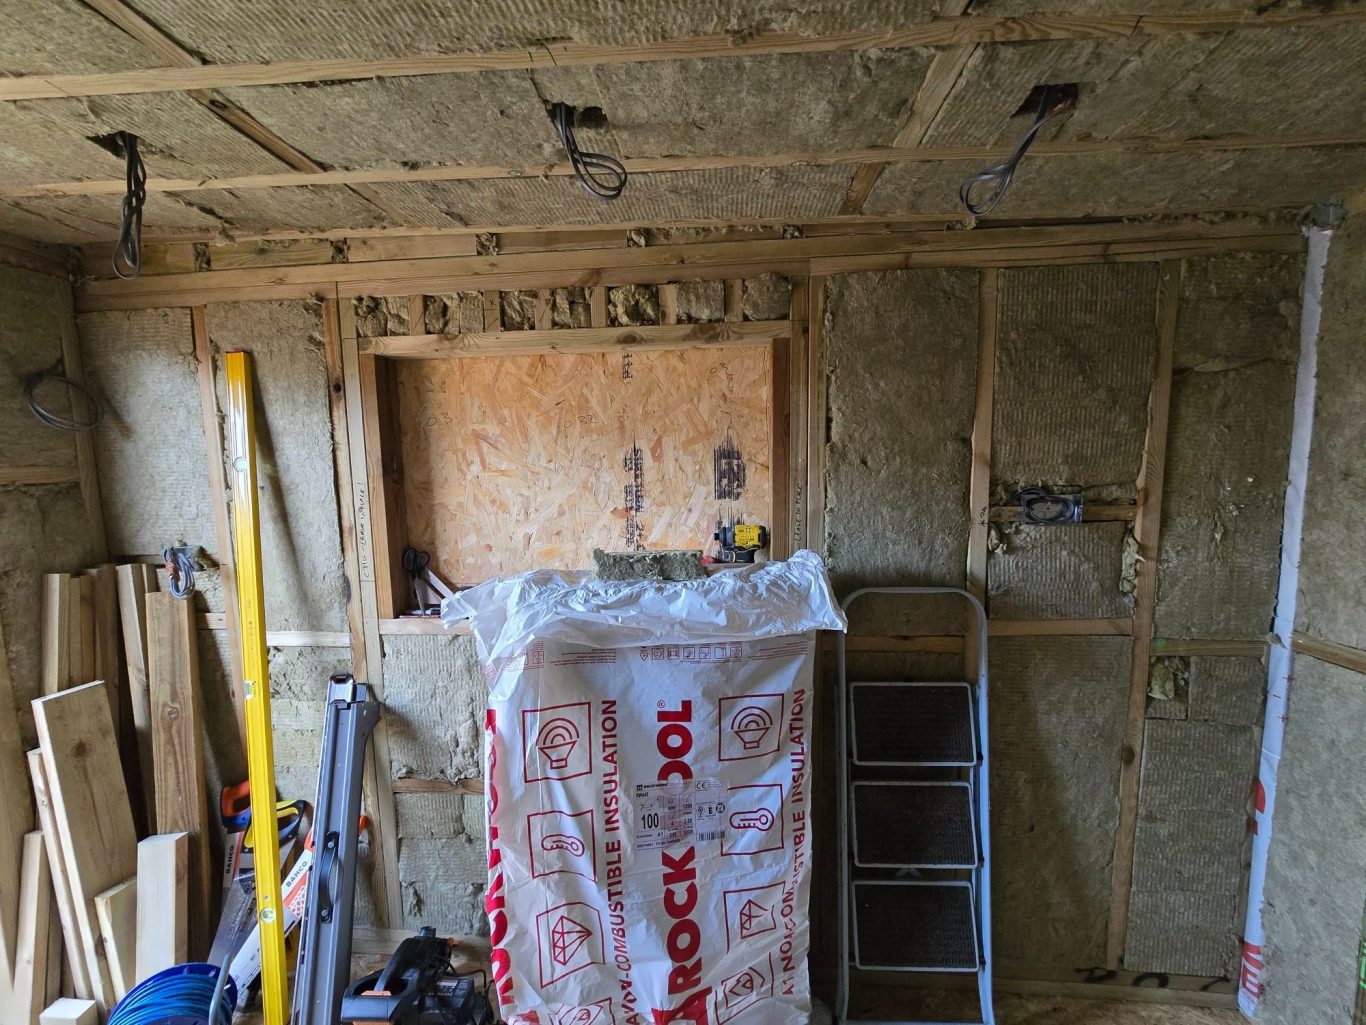
Window opening created
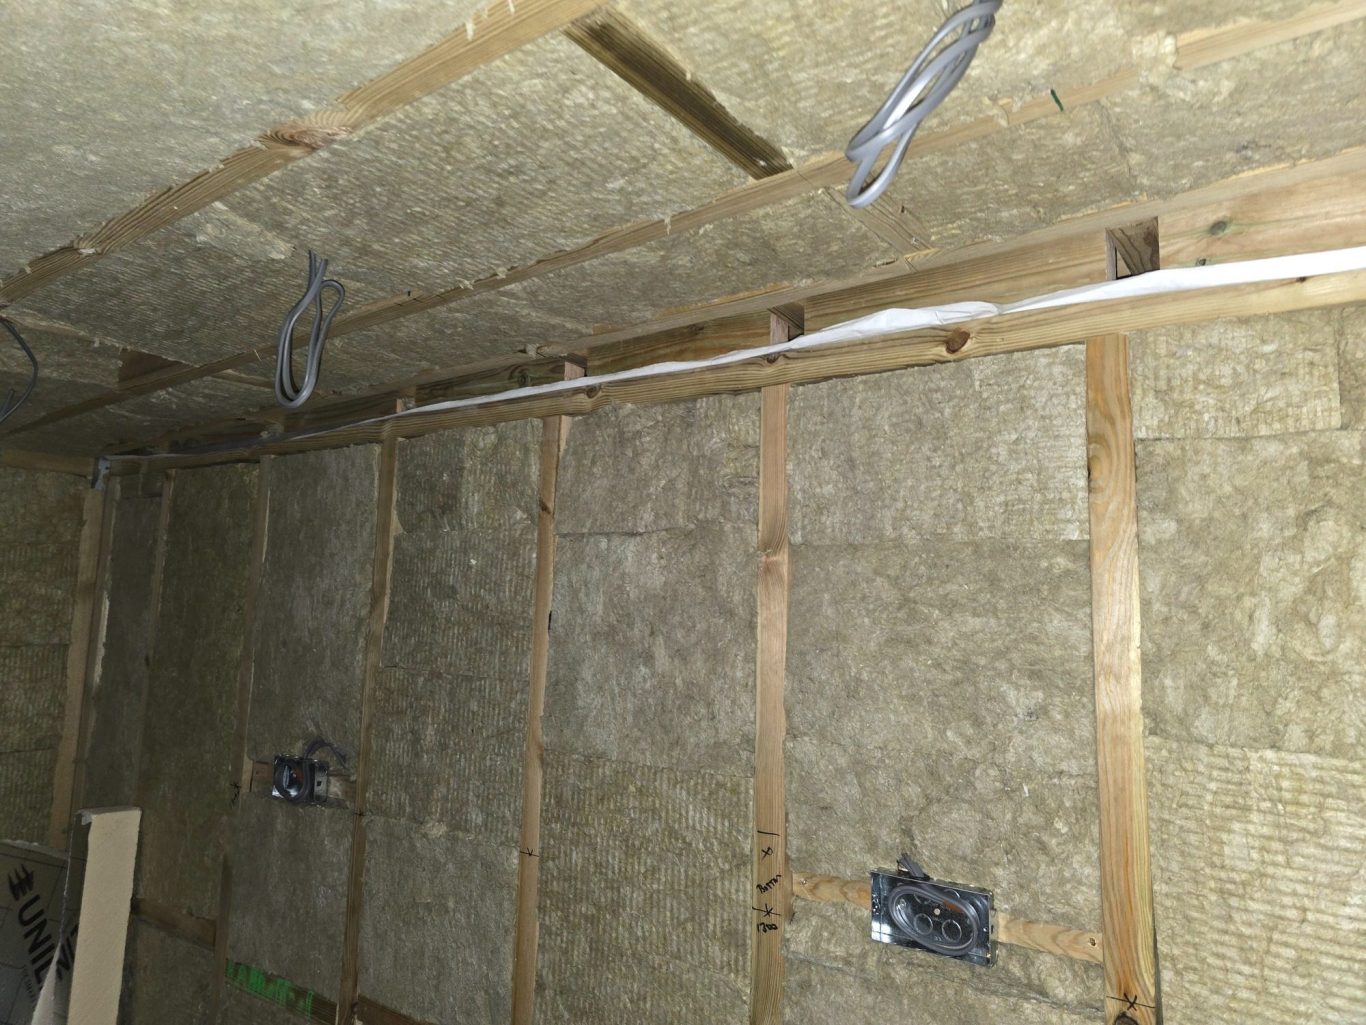
Wall and ceiling insulation installed, and first fix electrics
Vapour Barrier & Plasterboard Installed
I installed a vapour barrier to the walls and ceiling as a precaution to stop moisture transferring. I then plasterboarded the ceiling and walls, leaving the necessary openings for the spotlights, switches, and sockets.
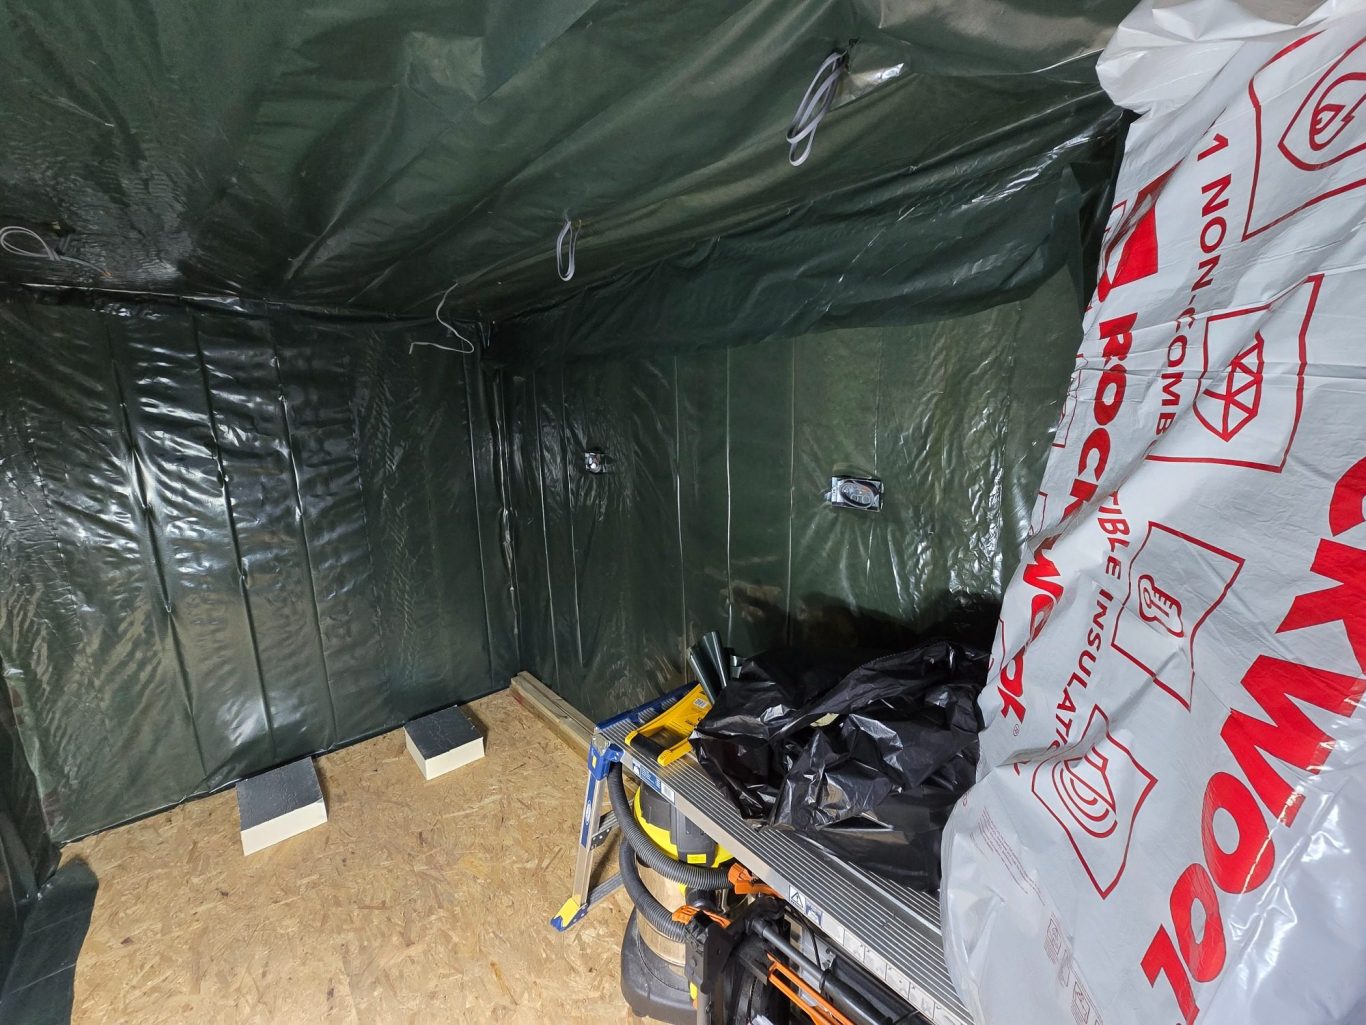
Vapour barrier to walls and ceiling
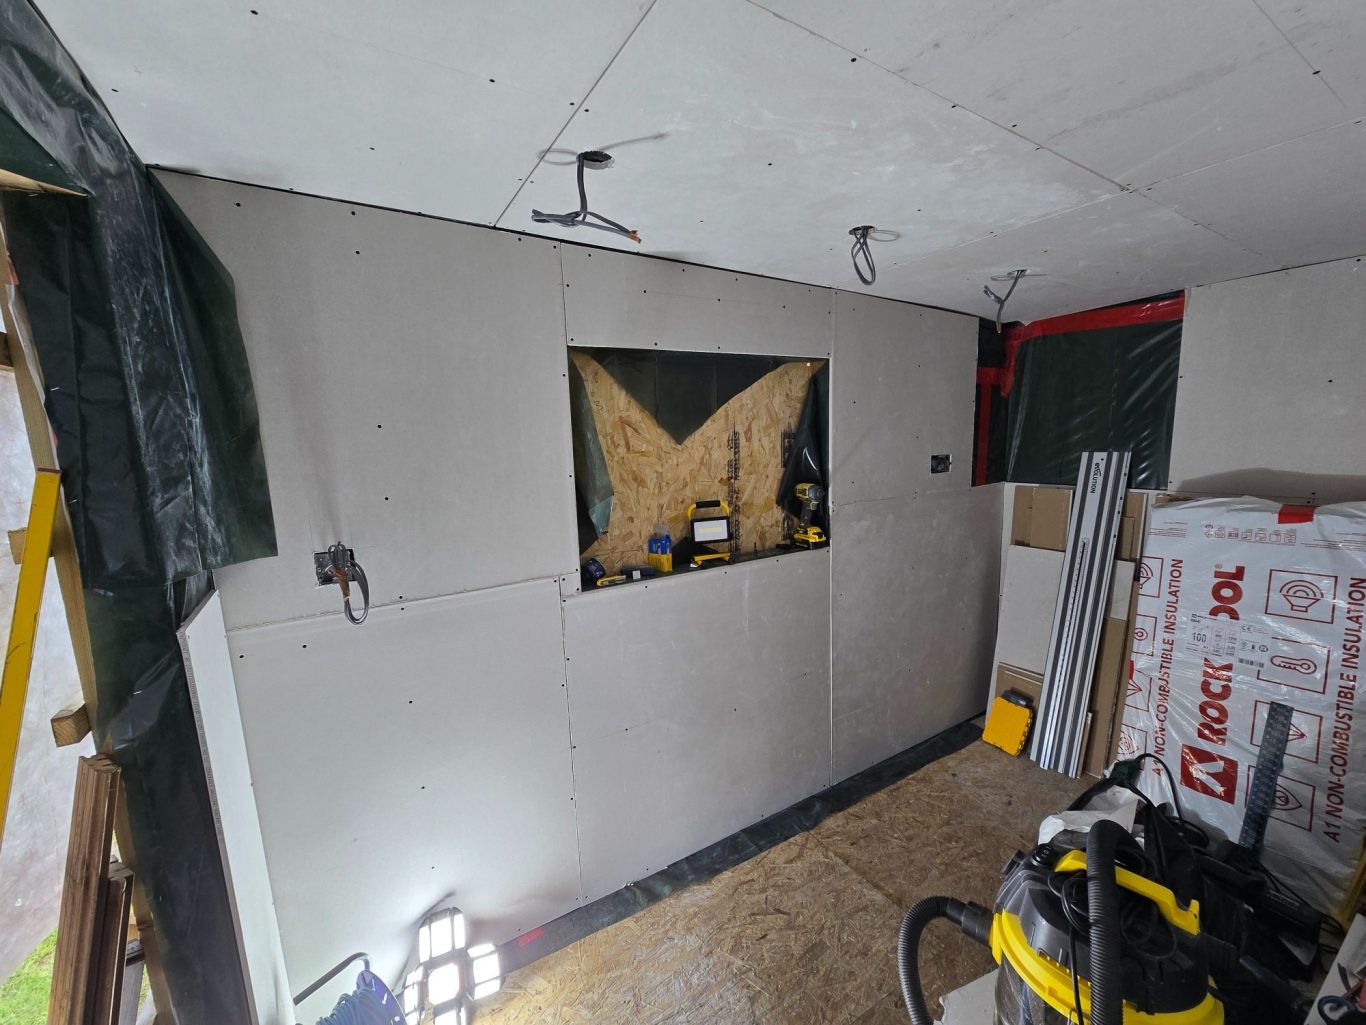
Plasterboard installed
uPVC Window & Door Installed
Another exciting milestone in the build was installing the uPVC window and door. With both in place, the workshop finally started to feel like a proper, enclosed space.
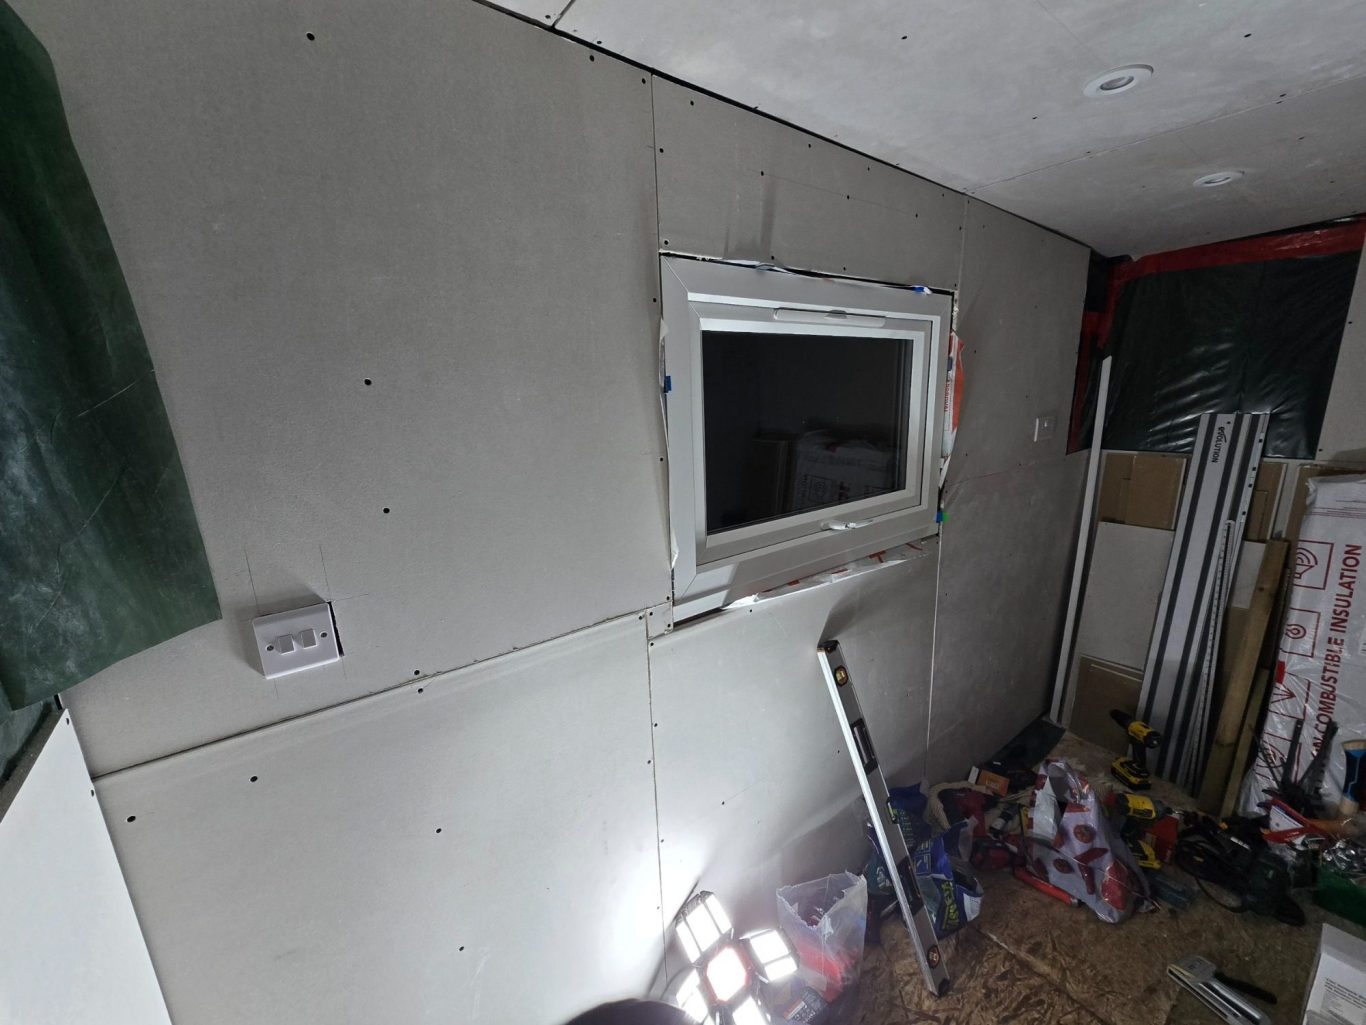
uPVC window installed into the window opening that I created retrospectively
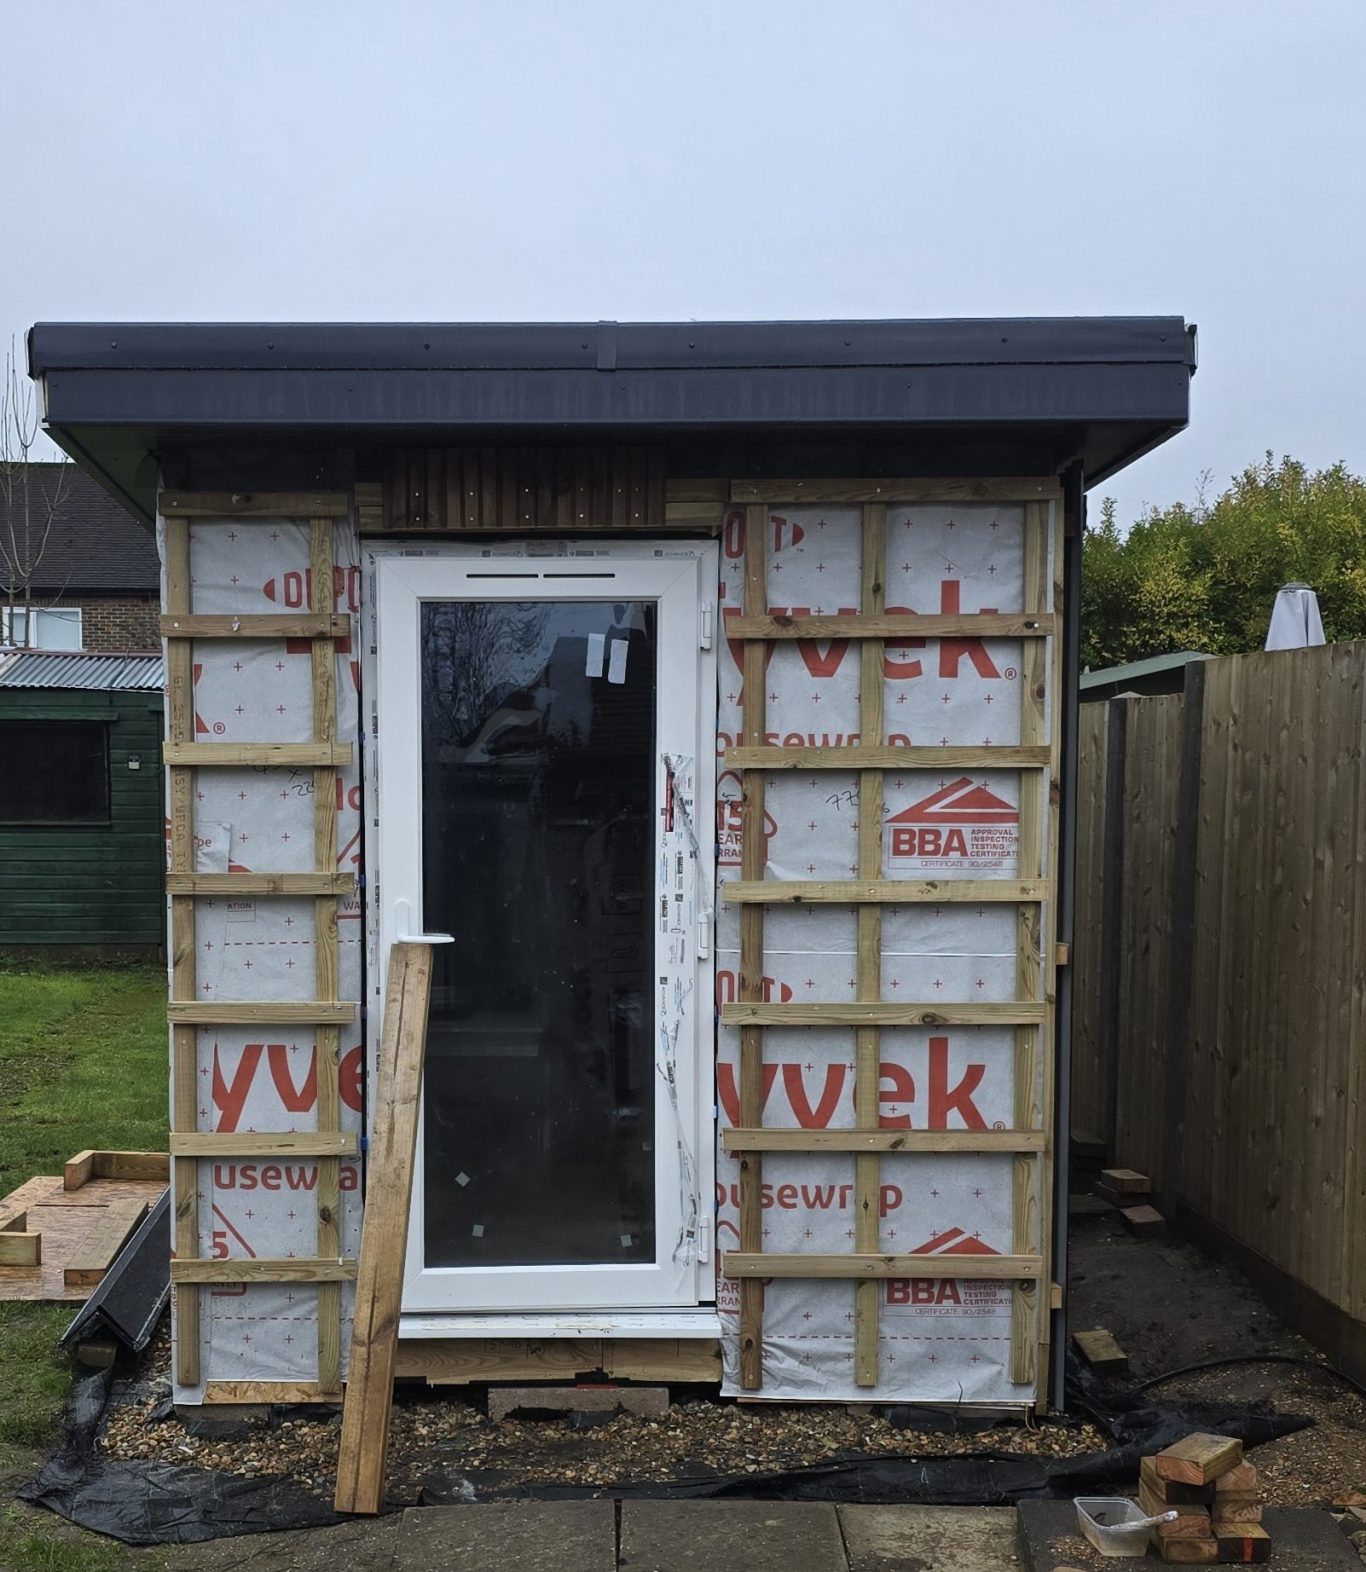
uPVC door installed. (Photo also shows the battening for the cladding which was to follow.)
Wall Cladding
Using corrugated roofing sheets as wall cladding was perhaps an unusual choice, but I loved the look, so I decided to use them on all but the front wall. The front wall was finished with softwood timber cladding, creating a nice contrast with the corrugated sheets.
Barge flashings were fitted to the corners, giving the exterior a neat, finished appearance.
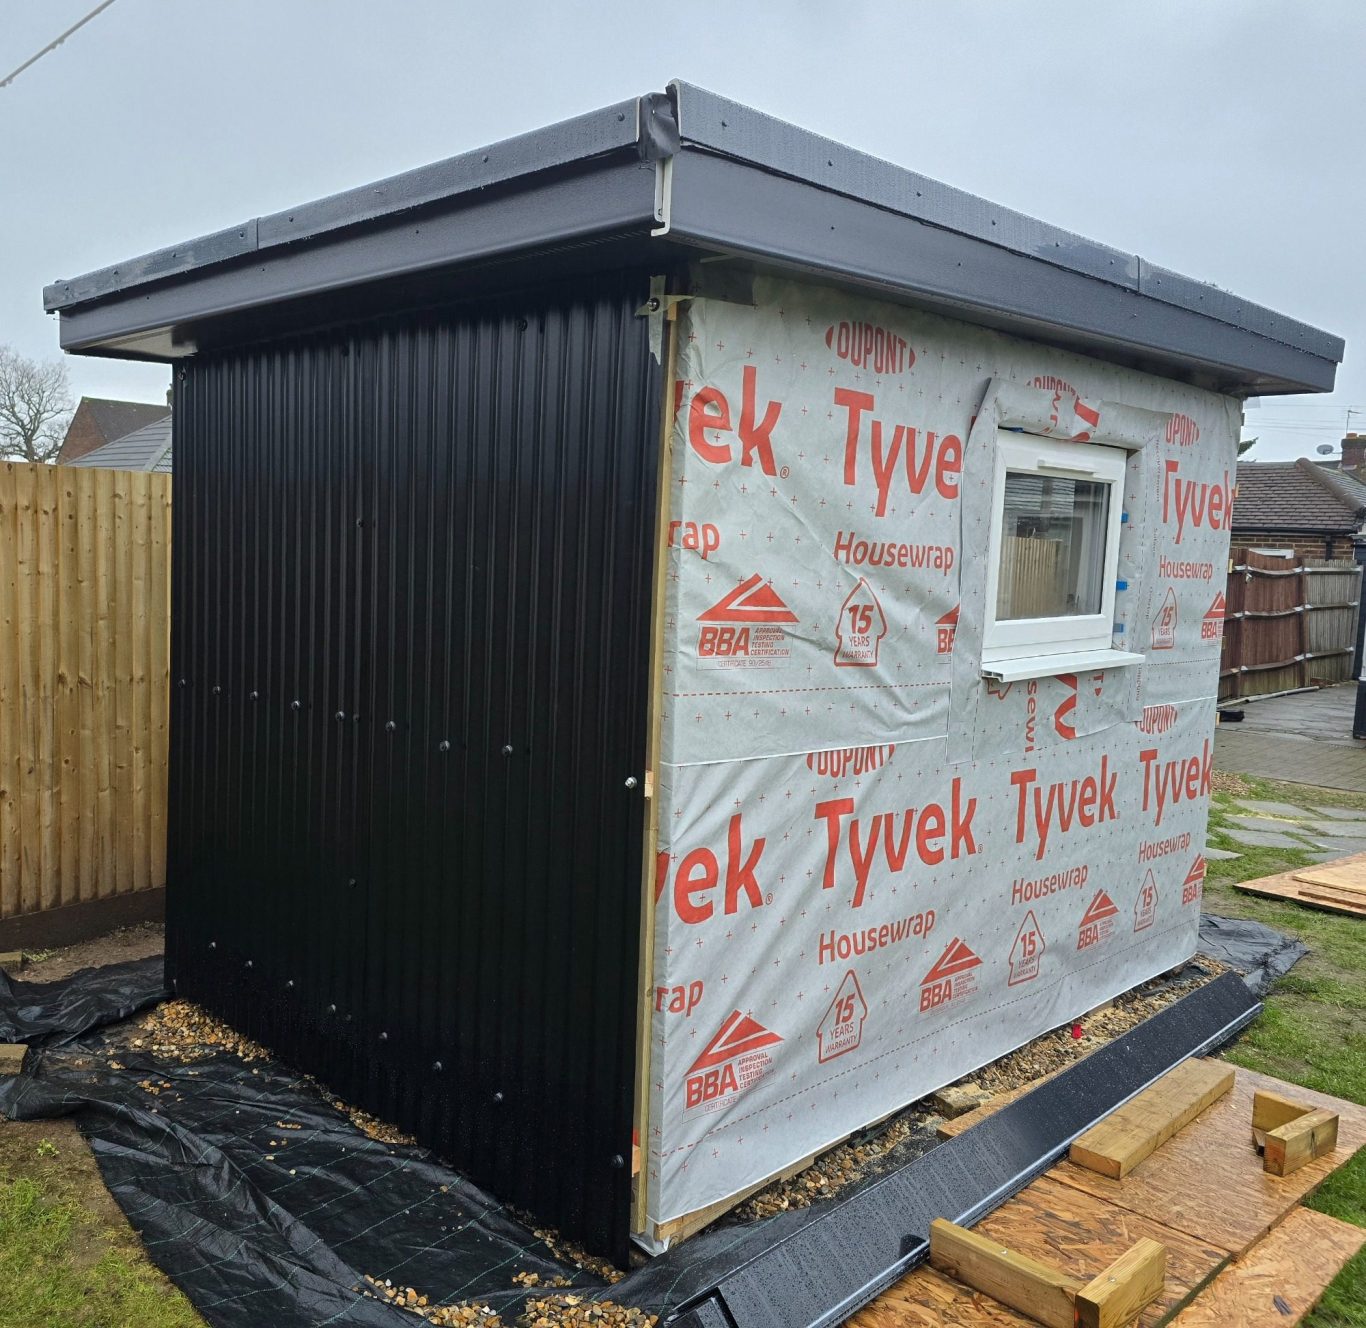
Corrugated roofing sheets used to clad the back wall
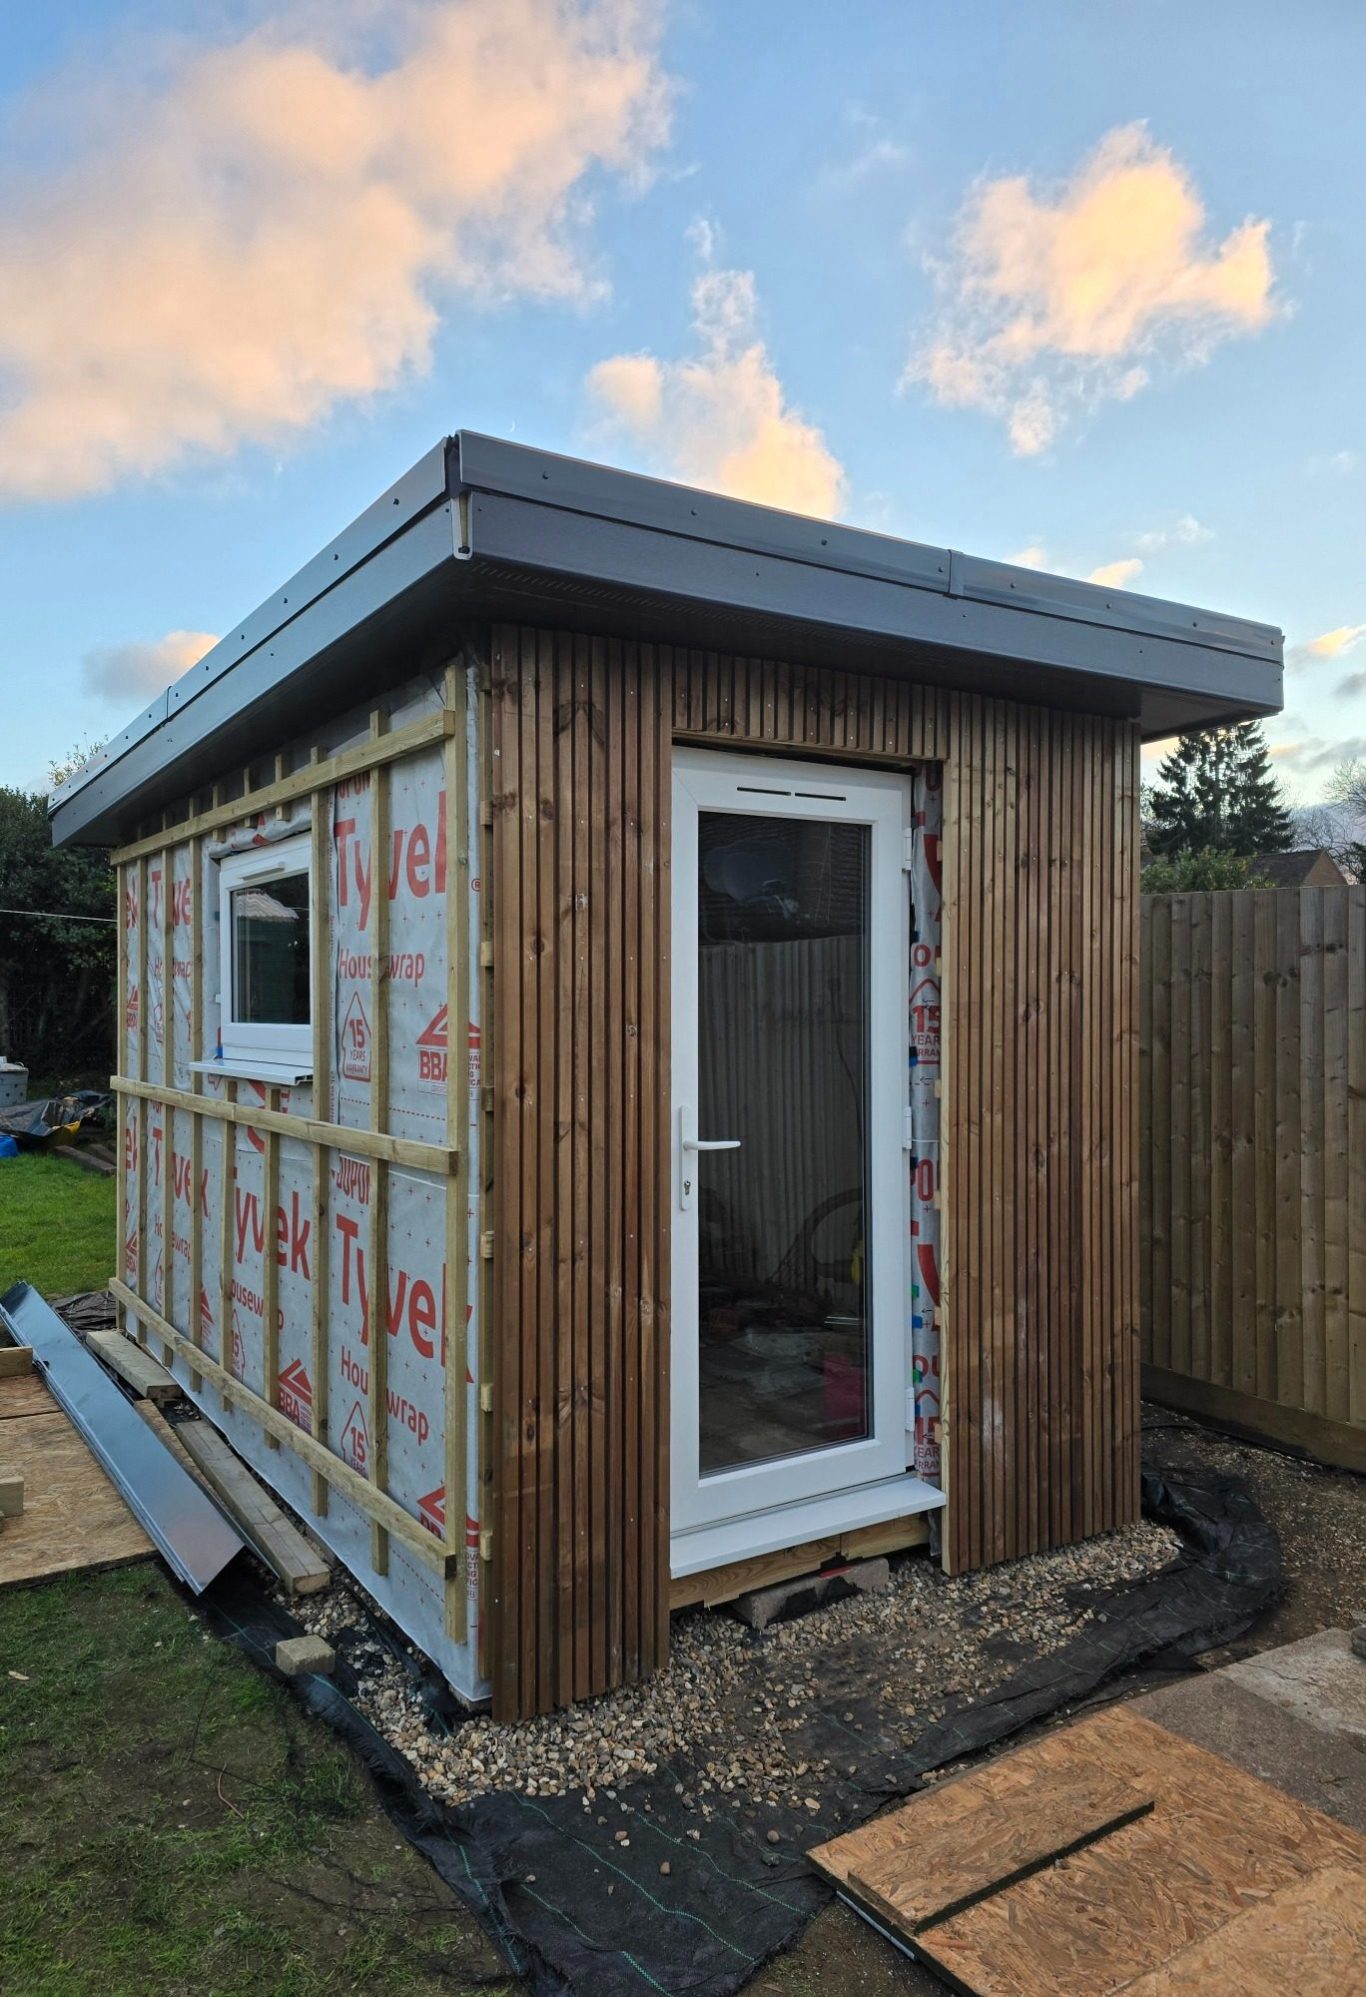
Softwood tongue & groove cladding used for the front wall
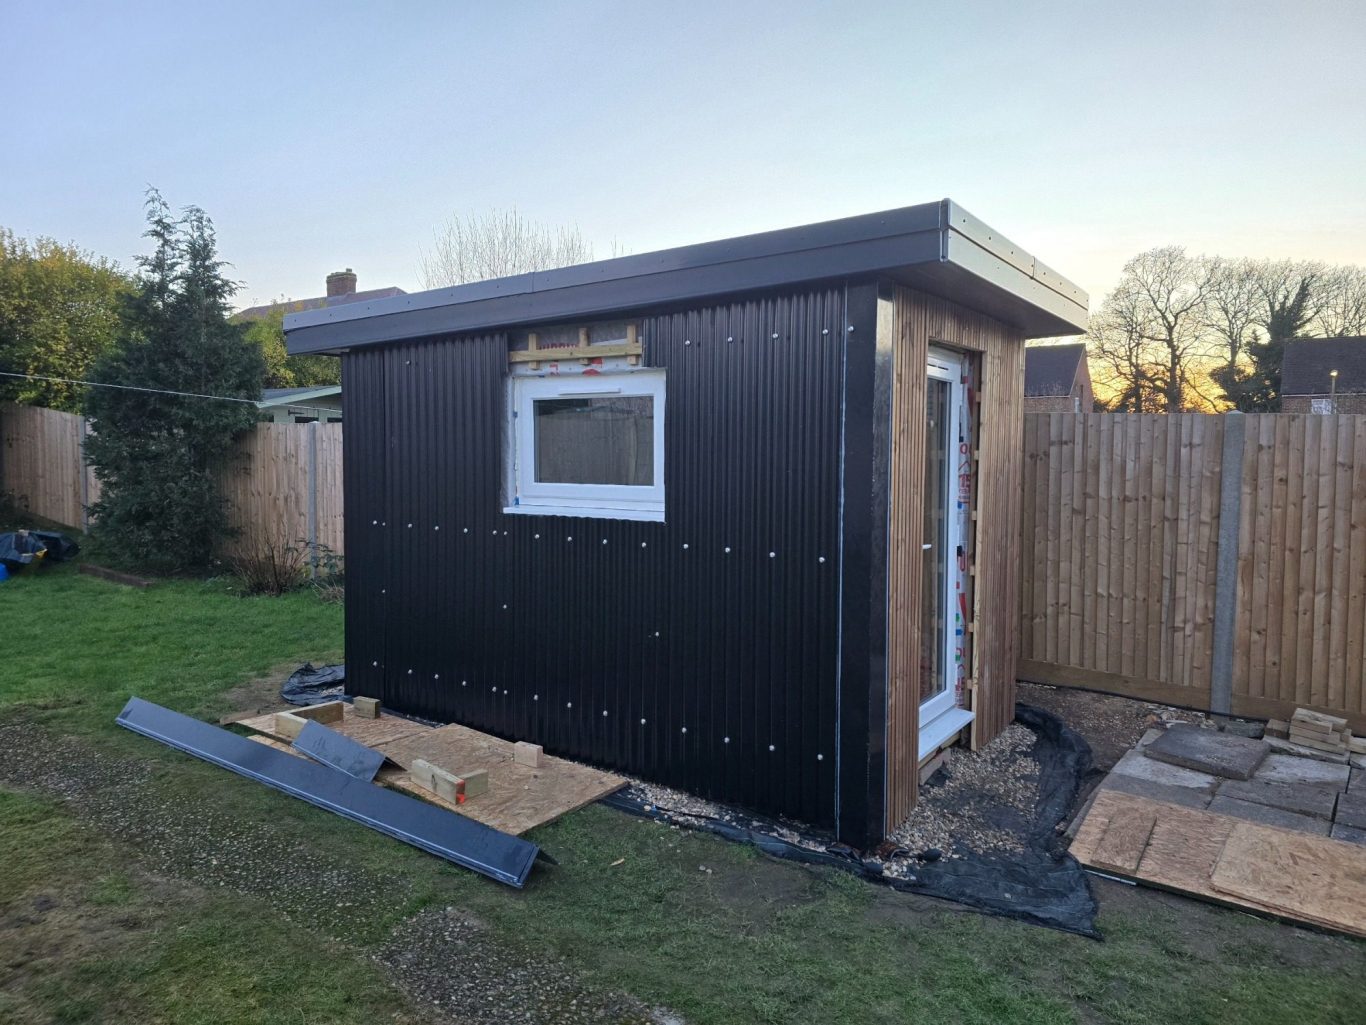
Corrugated roofing sheets used to clad the side walls, with barge flashing installed to wall corners
Workshop Interior
With the exterior of the workshop mostly complete, the focus shifted to turning the interior into a practical and fully functional workspace.
I built a bespoke workshop bench designed specifically to accommodate full sheets of plywood, with an extendable top providing additional support when needed. It also incorporates plenty of storage for my tools, with additional overflow storage mounted on the walls.
Finally, I covered the floor with thick rubber crumb gym mats, providing a comfortable and hard-wearing surface to work on.
Now, if I could just find the time to decorate the interior. Maybe one day…
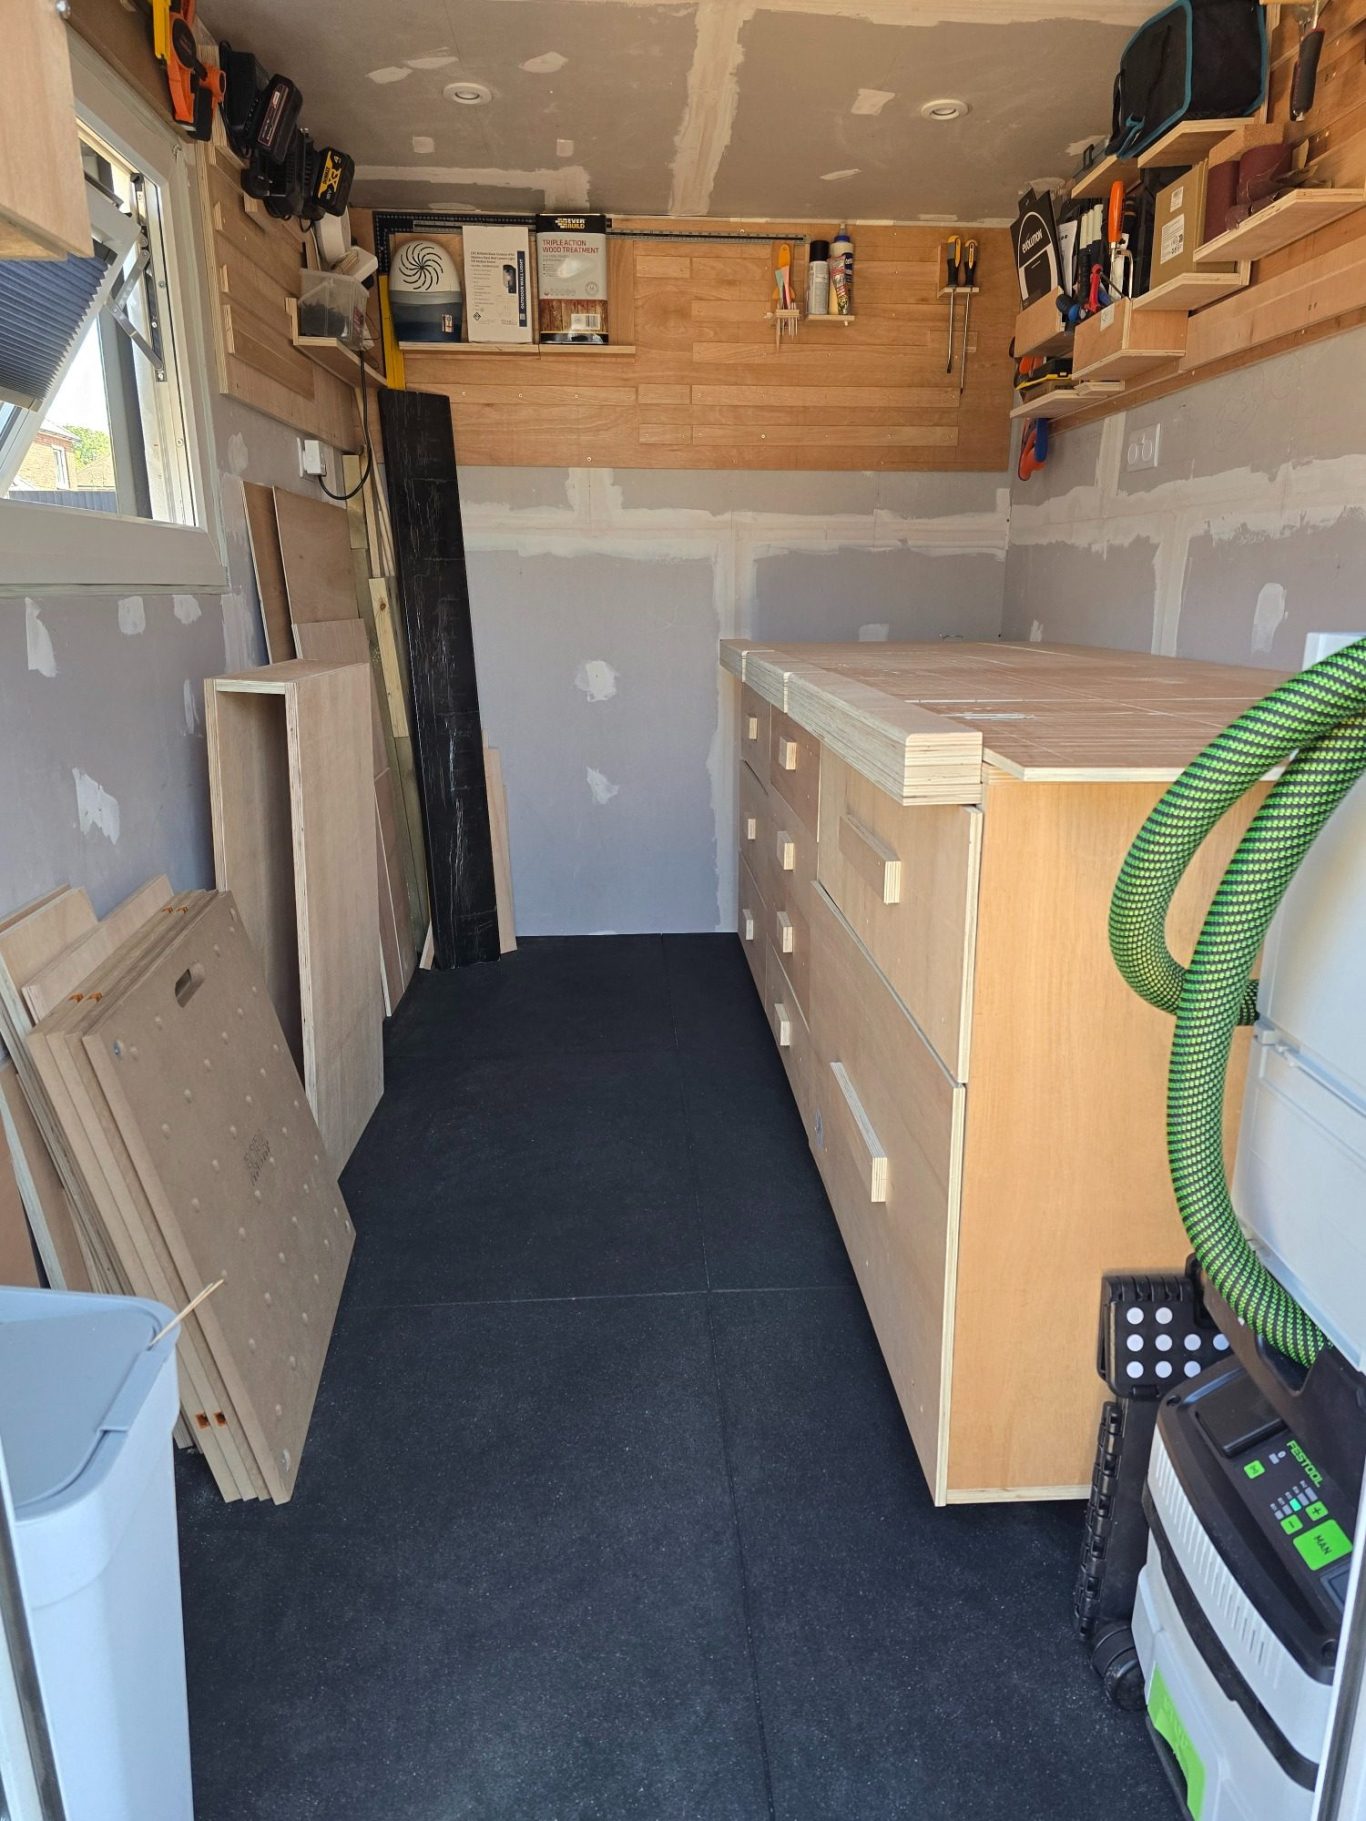
Workshop interior, where the magic happens!
One day I'll find time to decorate...
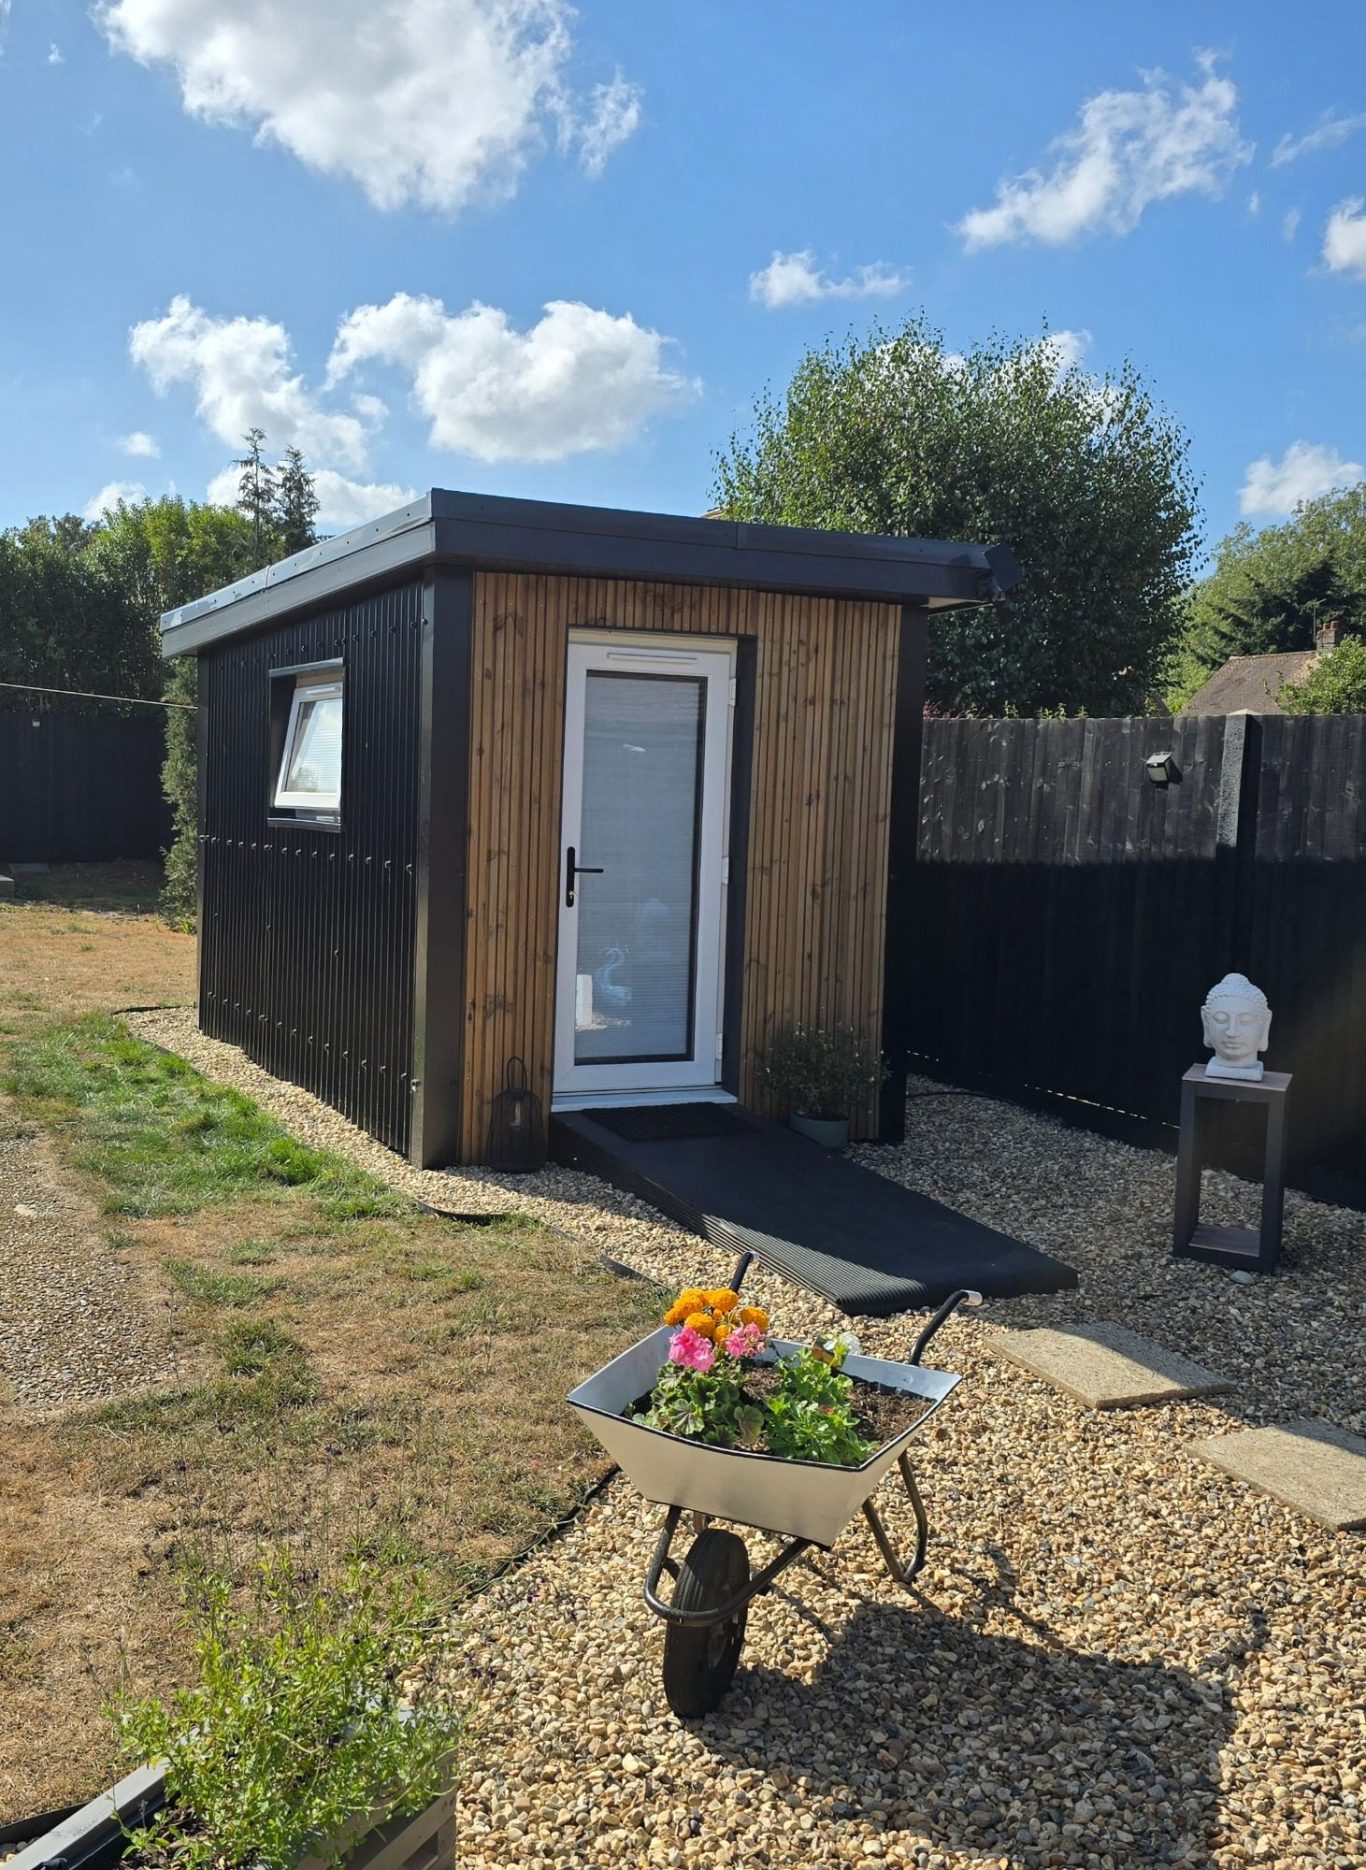
The finished article!
I made a ramp from treated timber and covered it with rubber, making access into and out of the workshop much easier, especially when carrying sheets of plywood.
Go to: